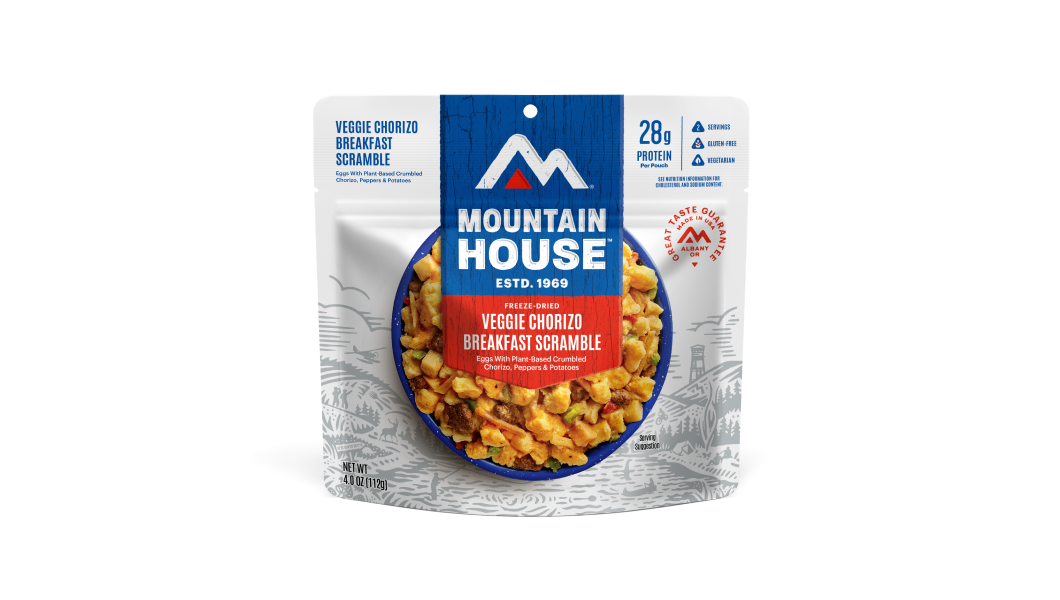
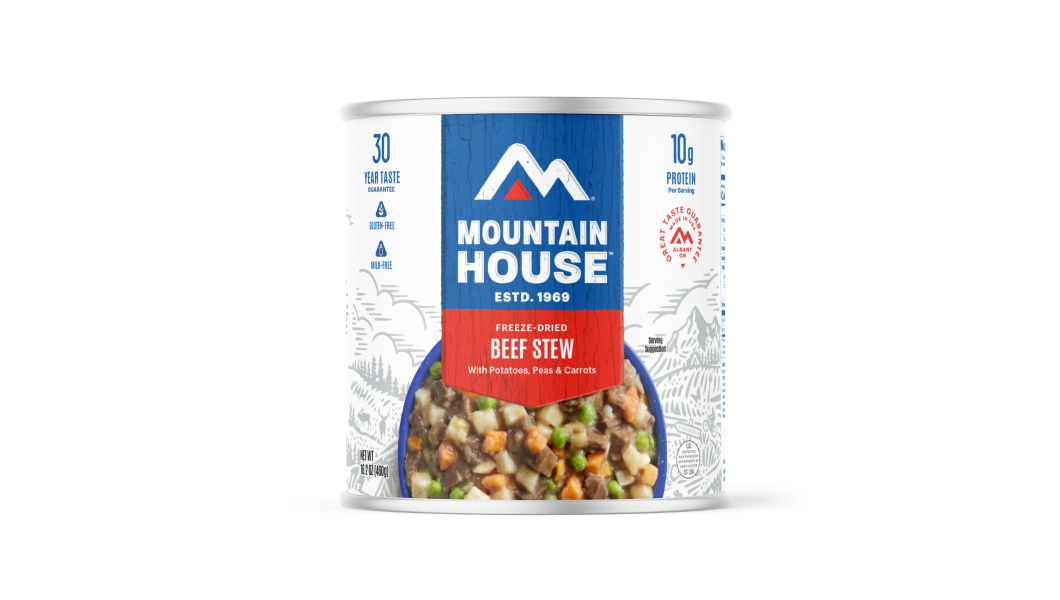
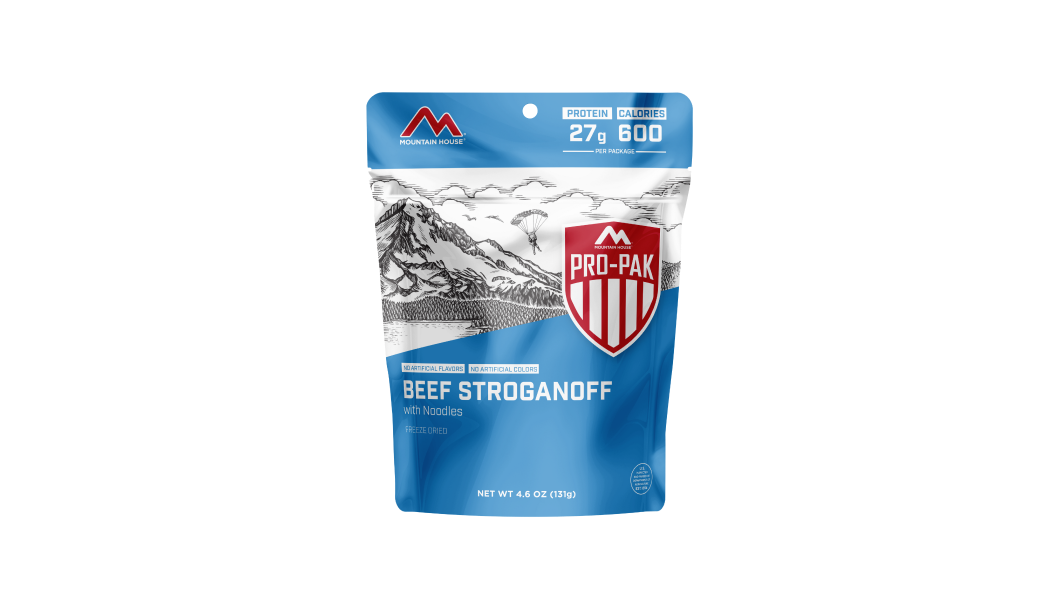
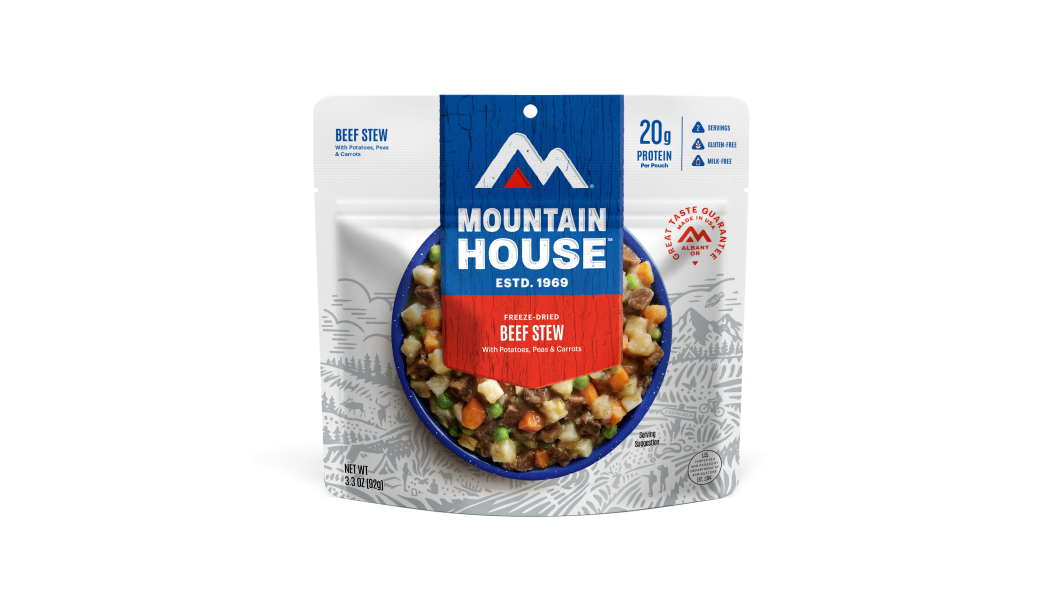
Inspired for an Adventure? Check out Beef Stroganoff - Pouch and Beef Stew - Pouch
Free Ground Shipping On All Orders
Over 2,100 Reviews
Add description, images, menus and links to your mega menu
A column with no settings can be used as a spacer
Link to your collections, sales and even external links
Add up to five columns
Add description, images, menus and links to your mega menu
A column with no settings can be used as a spacer
Link to your collections, sales and even external links
Add up to five columns
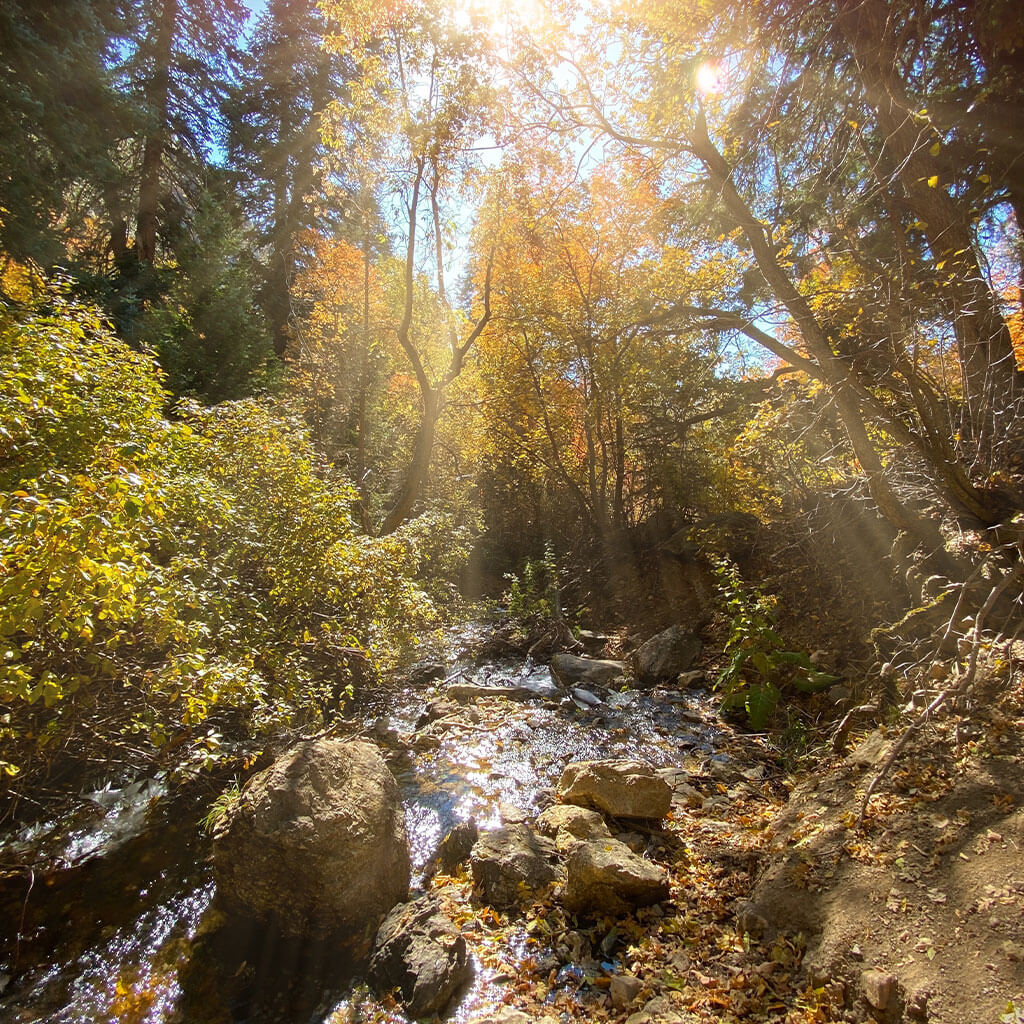

Wetting your whistle is the top priority out in the wilderness. From tracking down water out in rugged—and maybe rather parched-looking—terrain to understanding methods of water treatment, here’s a comprehensive guide to staying (safely) hydrated while backpacking!
The Importance of Clean Water in the Backcountry
It’s all easy to become dehydrated out in the wilderness. After all, water’s less instantly available than back at home, and you’re also typically exerting yourself more than average: a double-whammy situation that means many hikers, climbers, and hunters aren’t actually drinking enough water. And dehydration tends to sneak up on you.

A basic rule of thumb when it comes to the amount of water an outdoorsperson should be consuming is a quart per hour. On long or especially arduous day hikes, and certainly on multiday backpacking treks, you’ll generally need to replenish your water supply from natural water sources. Regardless, you need the ability to treat such water sources, as in an emergency they may be your only lifeline.
Risks of Dehydration & Contamination
Dehydration is serious business. Only a 2% fluid deficit can result in reduced cognitive performance as well as a heightened pulse, nausea, and other symptoms. Fluid deficits past 15% can be fatal.
Getting enough water is more important, when it is said and done, than avoiding waterborne illness. But contaminated water is definitely a major cause for concern in and of itself. Illnesses caused by bacteria (such as E. coli and Campylobacter), parasites (such as Giardia lamblia and Cryptosporidium parvum), and viruses can, at best, be highly unpleasant. In the backcountry, getting laid low by such a condition can be life-threatening, given the enhanced risk of dehydration due to diarrhea and vomiting and the physical malaise that can prevent you from finding water and pursuing other essential survival tasks.
There’s long been debate over the necessity of treating water from wilderness sources. The “better-safe-than-sorry” approach is a pretty darn sturdy one, though. You do, after all, want to account for those pesky wild animals doing their business (and kicking the bucket) in even the most remote and pristine-looking ponds, lakes, and streams.
Finding Water on the Trail
Use multiple resources to cross-reference information on where you're likely to find water in the area you'll be hiking/backpacking in. Those include topographic maps, aerial photos, guidebooks, online hiking forums, and information gleaned from park/forest rangers and other local authorities. The latter personnel can also clue you in on any current concerns about water quality in a given area.

A topo map of adequate scale will directly indicate likely water sources such as rivers, creeks, lakes, ponds, and springs, but you can also study the illustrated terrain and, considering it against the season, note where other possible sources may exist. Those might include lingering snowfields, trickles in a draw or gully and pools in hollows or bare-rock potholes after a wet stretch, and seeping slopes, banks, or ledges.
Speaking of seasonality, it's definitely an essential consideration when planning a hike around water sources. Many streams are seasonal or ephemeral; such flows are often indicated with stippled blue lines on a topo map, but if conditions have been especially dry even creeks marked in solid blue may be nonexistent. In the early summer, mountains may have plentiful snowdrifts and patches to melt water from; by late summer, they may be dry and dusty.
Route-Planning With Water in Mind
Plan ahead for multiday backpacking so you can structure your route with regular replenishment of your water supply, using your estimated water consumption and the layout of water sources to come up with the game plan.
If you have a long (say, 20-plus miles) stretch of apparently waterless trail, consider splitting it into a couple of days so you can take advantage of cooler, less sweat-inducing walking in the late evening and early morning.

Be realistic about how much ground you can cover and how much water you might have to consume. Even if you're within view of a river, it can be an annoying or downright taxing effort to hike down for water if nighttime catches you on a ridgetop thousands of feet above it and with your water bottles/bags empty.
Backpacking Water Treatment Methods
There are three primary water purification methods: boiling, chemical treatment, and filtration. Each has its benefits and drawbacks, and most experienced backpackers don’t rely on just one alone; rather, they’ll use one or another or a combination depending on the situation. Having backup water-purification tools on hand is always a smart idea in case your primary method fails or can’t be used.
Boiling Water
Does boiling water purify it? Absolutely. In fact, boiling is the most effective method of water purification: It kills all pathogens—viruses, bacteria, and protozoa. The only drawback is the hassle, time, and fuel required to bring water to a boil (and the time necessary for the boiled water to cool to a safe drinking temperature).
Yes, there’s a time expense involved when getting water to boil and cooling it down again, but the actual interval required to sterilize by this surefire method is negligible. When you’re boiling water for drinking purposes, heat it to a rolling boil and keep it there for a full minute. As REI notes, even the highly heat-resistant Hepatitis A perishes in 208° Fahrenheit water in less than a minute.
Now, what about the elevation factor? A bit of a gray area. The Centers for Disease Control and Prevention suggests you should extend the rolling boil to three minutes at elevations above about 6,500 feet. Other authorities claim that a minute’s sufficient regardless of elevation.
Filtration
Unlike boiling or chemical treatments, water filtration doesn’t kill pathogens but rather strains them out. As they’re typically 0.1 microns in size or smaller, viruses are usually too miniscule to be filtered out.
Some filters include an iodine component to kill viruses (in which case they’re more properly called water purifiers); otherwise, where viruses are a concern you should disinfect the water with iodine before filtering or else simply boil it. Pay attention to the pore measurement of a filter to determine which kinds of pathogens it wards against. Choose filters with a pore size of 0.4 microns or smaller.

Types of Filters
There’s quite the dizzying array of water filters and purifiers on the market, from pump and gravity models to squeeze-action ones. Again, pore size should be the deciding factor, but personal preference and budget play a role, too.
A benefit of the squeeze-action water filters is they don’t have as many working parts to break, as compared to pump-style models. Because sediment and other debris will gunk up a filter, they need to be cleaned at varying intervals depending on design and degree of use. Many come with a prefilter that strains out the larger particulate matter before water passes through the filter properly.
Chemical Treatment
Chemical treatment is used to kill or destroy waterborne pathogens. It’s a straightforward process, and often a time-consuming one: You just plunk a tablet, sprinkle powder, or squirt a droplet or two in the water you want to treat and wait.
Iodine Tablets
Iodine is the best-known chemical treatment: It’s effective in killing bacteria and viruses, less so protozoa. Iodine can be used to treat for Giardia, but you typically have to soak water for an hour to do so. Iodine doesn’t disinfect against Cryptosporidium.
Chlorine Tablets
Chlorine is an alternative chemical treatment with similar properties as iodine: good against bacteria and viruses, so-so against protozoa. It may be somewhat less effective than iodine in destroying the cysts of Giardia, and like iodine doesn’t treat for Cryptosporidium.
Chlorine dioxide is a chemical that can, given enough time (up to four hours), kill Cryptosporidium, though it’s not foolproof. Chemical treatments such as iodine and chlorine tend to give treated water an off-putting taste. Some tablets or powders come mixed with other agents to counter that flavor, or you can add, say, Vitamin C before drinking. Overall, chemical tablets or powders are lightweight and space-efficient; you might as well have them handy as a backup means of water treatment.
UV Treatment
Ease of use, super-low maintenance, and lightweightness recommend UV purifiers for the backcountry. You don’t have to worry about the aftertaste left by some tablets, and meanwhile, there aren’t the moving parts and freeze-vulnerability of certain water filters.
On the flipside, UV purifiers require batteries and aren’t super-efficient if you need to treat large quantities of water.
Combination of Methods
Nothing’s stopping you from using multiple methods of water filtration/purification if the source is particularly questionable or you’re otherwise erring on the side of caution.
Where to Gather Water
Where and how should you gather the water you’ll boil, treat, or filter/purify for drinking and cooking purposes? Although, again, your naked eye isn't an effective judge of the purity of water source, it’s certainly better to avoid visually fouled ones: for example, those crossed by human or animal trails, edged by heavy animal signs, or mucked over with algae, which isn’t generally harmful in and of itself but which indicates biologically fertile conditions that may breed pathogens.
Flowing water is preferable to stagnant water and clear water to murky water. If you can, fetch lakewater as far offshore as you can.
Preparing for the Backcountry
From emergency boiling to everyday pump-action or squeeze filtration, treating water for safe usage is a fundamental part of backcountry travel for most of us these days.
For more backpacking fundamentals, check out our roundup of some go-to survival tips from fellow Mountain House users, plus a breakdown of choosing your backcountry pantry. And speaking of that, don’t forget your just-add-water Mountain House repast when planning your next adventure out in the wilds!

How to Hike Safely in Winter & Cold Weather

5 Wilderness Survival Situations: Skills and Strategies to Stay Safe

Stay Hungry for Adventure
Sign Up for Delicious Outdoor Meals & Exclusive Offers!
By clicking ‘Join Now’, I agree to the Terms of Service and Privacy Policy.


Join the adventure
©2026 Mountain House — All Rights Reserved.
Your Cart is Empty
Continue ShoppingYour Cart
Subtotal
$0.00
EXPRESS PAYMENT METHODS AVAILABLE IN CHECKOUT
Taxes and Shipping Calculated at Checkout
Your ExpertVoice deal.
$[Deal Price]
$[Original Price]
Discount applied at checkout.
On sale now — lower than your ExpertVoice discount.
Not eligible for ExpertVoice discount.
