


Inspired for an Adventure? Check out Beef Stroganoff - Pouch and Beef Stew - Pouch

It’s surprisingly easy to take a tumble walking the pavement and floors of day-to-day life, let alone the uneven surfaces you’ll run into in the backcountry. Whether you primarily hike well-graded trails or your adventures include occasional cross-country travel, here are some miscellaneous tips for maintaining your footing: from techniques for negotiating different types of terrain to how to train for a hike in general.
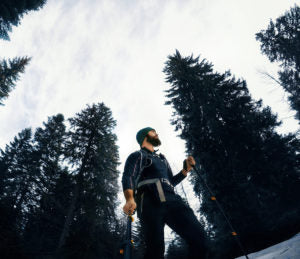
Support Aids for Hiking: How to Use Trekking Poles
Bipedalism’s great and all, but more than a few hikers slogging up a tough set of switchbacks have envied the elk or bear its four sturdy legs. Well, a pair of adjustable trekking poles goes some way to evening out the playing field. It’s hard to overstate the importance of these support aids for hikers: They relieve a significant amount of strain on your body (not least during jarring descents), provide plenty of useful secondary roles as props and anchors, and—more to our subject matter—they go a very long way to keeping you upright when you’re listing a bit or rolling your foot on a stone.
When it comes to using trekking poles on the go, the basic rule of thumb is to grasp them such that your elbows are at a 90-degree angle; in other words, so that your forearms are parallel with the ground. When climbing or descending a hill, shorten or lengthen the poles, respectively, to maintain roughly the same angle, but ultimately choose the pole length that works best for you.
Generally speaking you’ll probably find it most natural to move the trekking pole opposite the leg you’re stepping forward with. Going up- or downhill, or negotiating slushy snow or other particularly unstable substrate (see below), you may want to move both poles forward together, plant the tips, then take two steps.
While the steel or carbide tips of your trekking poles are designed to grip the ground and punch into snow or ice, it’s best to attach rubber tip protectors on paved paths or stony ground—or anytime you’re concerned about lessening your environmental impact, as the rubber buffers the scuff of the tip.
Staying Upright on the Trail
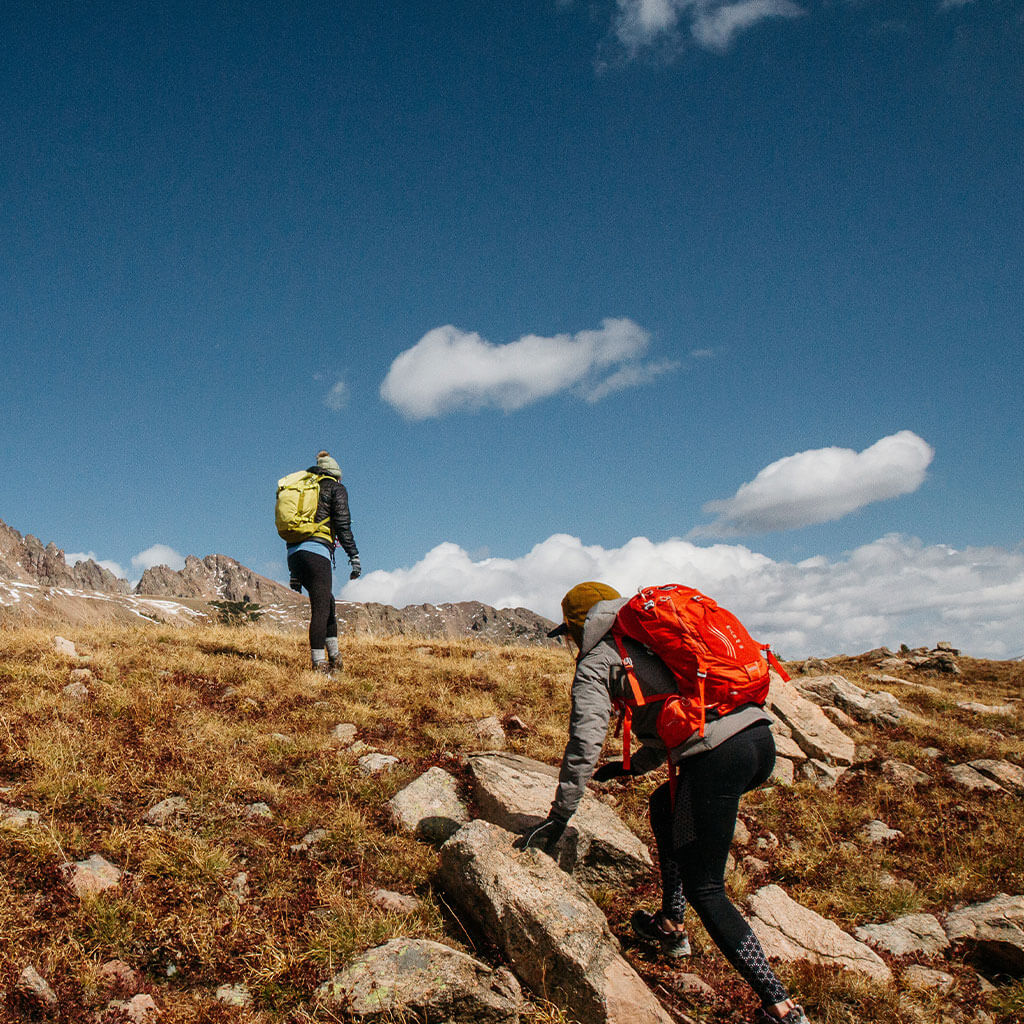
Always pay attention to the trail ahead as you go along, easy as it is to fall into a daydreaming trance or deep conversation with your hiking partner. Tree roots, loose stones, ruts and holes, snagging branches, and other obstacles can easily transport you to your keister—and maybe twist your ankle or jam your wrist as you try to break the fall. Take special care when descending a steep trail: Don’t let the force of gravity carry you into a stumbling downhill run, particularly unstable when the tread is gravelly.
When the trail is muddy, say, or deeply rutted - or perhaps strung with the "leavings" of pack animals - you may be strongly tempted to ditch it and seek better footing alongside. Resist this impulse, as enough hiker detouring like this can degrade the trailside soil and vegetation and expand the path’s tread (and environmental footprint). Traverse such tricky stretches of trail slowly and carefully rather than rampaging your way around them to keep up a fast pace.
Winter hikers without snowshoes, or hikers in the high country in late spring or early summer, often contend with the challenge of gloppy, mushy snow, especially on sunny afternoons or generally during the local melt-off season. This tends to be exhausting and slippery going, whether the snowpack’s deep enough to posthole in or simply a shallow cover of slick slush. It’s virtually impossible to hike far through such conditions without trekking poles, needless to say, and on a multiday trip it may be best to travel mainly in the first half of the day when the snow’s better crusted over, and make camp by early or midafternoon. (Ice axes also make valuable support aids for hikers spending much time in rough, snowy terrain; check out our blogpost on traveling over snow for more info.)
Negotiating Challenging Terrain Off-Trail
Besides snow and mud, especially treacherous terrain for cross-country hikers includes:-
-
-
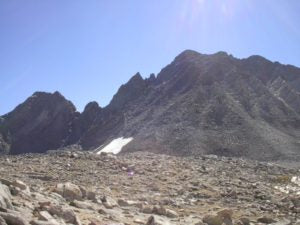
Loose Scree & Talus: Such rock aprons, often found beneath cliffs or steep slopes, are actually frequently the most desirable way through brushy or densely forested mountain country, but they definitely demand caution. It goes without saying that trekking poles come in handy here, too, though you need to watch where you’re setting the tips to avoid wedging them in a hole. Wearing gaiters can keep scree pebbles out of your boots. When crossing talus (larger and blockier than scree), look a few steps ahead, placing your feet on secure-looking boulders; heavy lichen, moss, or plant cover indicate those in long repose. Stay light on your feet so you can quickly step off rocks that prove more precarious than you expected.

-
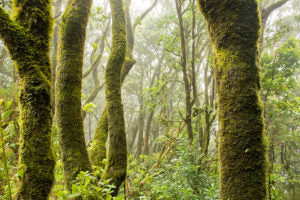
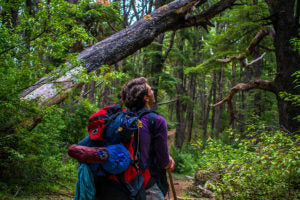
Heavy Brush: Whether jungle-like shrubfields or dense doghair thickets of sapling trees, “brush” spells a nightmare for off-trail hikers. Seek out game trails through the tangle if you can; otherwise, detouring around particularly heavy brush is often the best option. If you do have to burrow your way through, put as much of the gear you have strapped to the outside of your pack inside of it and tighten the straps to reduce snagging.

-
Deadfall: The downed timber that accumulates in a forest or woodland after windstorms, fires, or zsimply natural treed death over time is a valuable source of habitat and nutrients, but also quite the obstacle to bushwhackers. As with brush, it may be worth it to chart a detour around tracts of heavy deadfall, which may be stacked a few trunk layers deep. Move slowly and carefully through deadwood jumbles, walking along large, stable logs where you can, using trekking poles for support, and being careful of branch stubs that “love” snagging bootlaces and pant cuffs. (Again, put gear inside your pack and tighten straps when hiking in deadfall.)

-
Sidehilling: Moving across, rather than up or down, a steep slope can be tough and precarious going. Lengthen your downhill trekking pole for better support; Backpacker recommends keeping your downhill foot pointed outward a little to lessen the likelihood you’ll roll your ankle.

-
Loose Scree & Talus: Such rock aprons, often found beneath cliffs or steep slopes, are actually frequently the most desirable way through brushy or densely forested mountain country, but they definitely demand caution. It goes without saying that trekking poles come in handy here, too, though you need to watch where you’re setting the tips to avoid wedging them in a hole. Wearing gaiters can keep scree pebbles out of your boots. When crossing talus (larger and blockier than scree), look a few steps ahead, placing your feet on secure-looking boulders; heavy lichen, moss, or plant cover indicate those in long repose. Stay light on your feet so you can quickly step off rocks that prove more precarious than you expected.
-
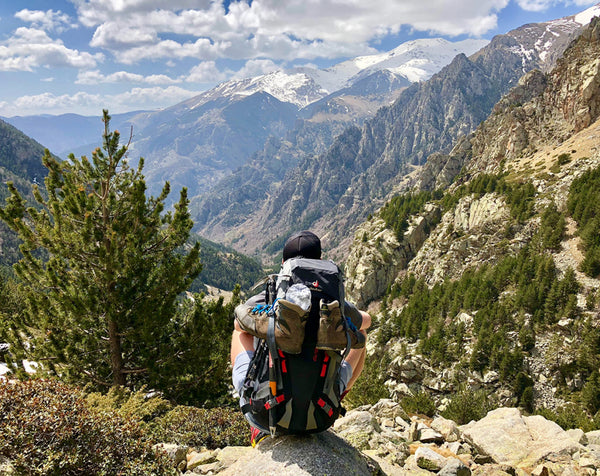
Loading a Backpack Properly for Better Footing
Loading your backpack with proper weight distribution in mind can greatly improve your balance and footing out in the wilds. Generally speaking you want heavier items—cookware, meals, tent, etc.—in the center of your pack and close to your back. Below should be bulky items you don’t need ready access to (such as your sleeping bag), above light gear you want quickly to hand (such as rainwear). If you’re backpacking fairly level terrain and sticking to the trail, load the heavy stuff about at shoulder level. In steeper country, or for off-trail travel in general, pack the heavy items a bit lower down to lower your center of gravity. Cross-country hikers will overall want to lighten their pack weight so they’re less likely be swung off-balance.Training for Hiking
Training for hiking back at home is another critical way to improve your traction and balance. Strengthening both upper and lower body translate to firmer support on and off the trail. Wear a loaded backpack and do squats and lunges as well as stair work and hill climbs around town. Exercising with hand strengtheners and/or doing pull-ups and monkey bars can bolster your grip: helpful for firmly grasping trekking-pole handles for hours on end.
From exercise routines in the living room to adept use of trekking poles across shifting topography, there’s much you can do to improve your traction—and cut down on the risk of a debilitating injury—out in the backcountry. Here's to happy (and upright) hiking!


Backpacking Meal Upgrades: Add-Ins That Travel Light
The best upgrade you can make to a freeze-dried backpacking meal isn't a new recipe- it's knowing which add-ins earn their pack weight. On the trail, every ounce matters, so it ...
Read more


Best Freeze-Dried Meals for Summer Backpacking Trips
The best freeze-dried meals for summer backpacking are lightweight, calorie-dense, water-efficient, and heat-stable. Summer adds specific demands that a shoulder-season kit may ...
Read more


