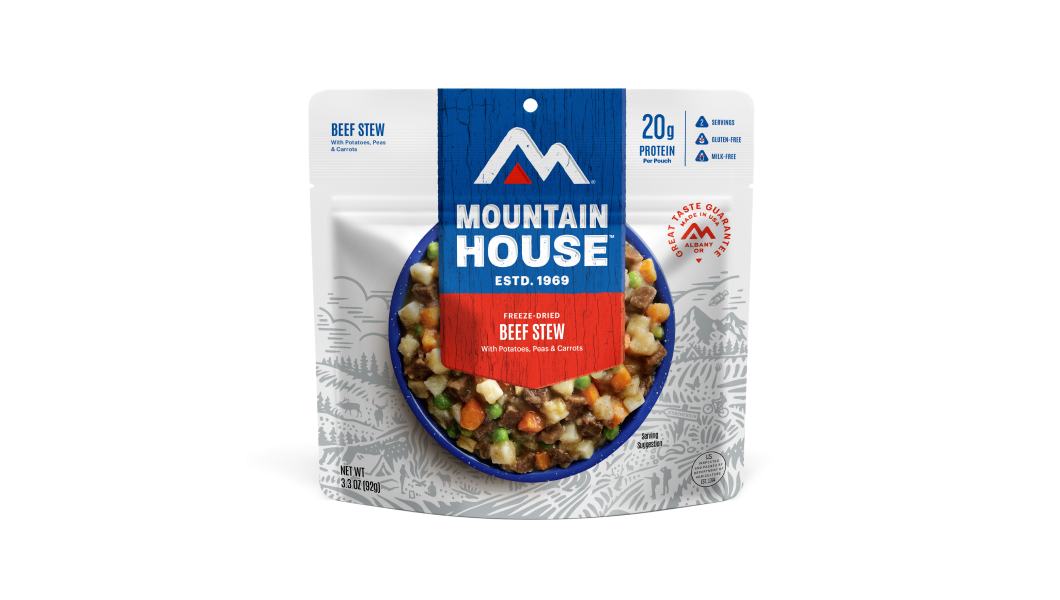
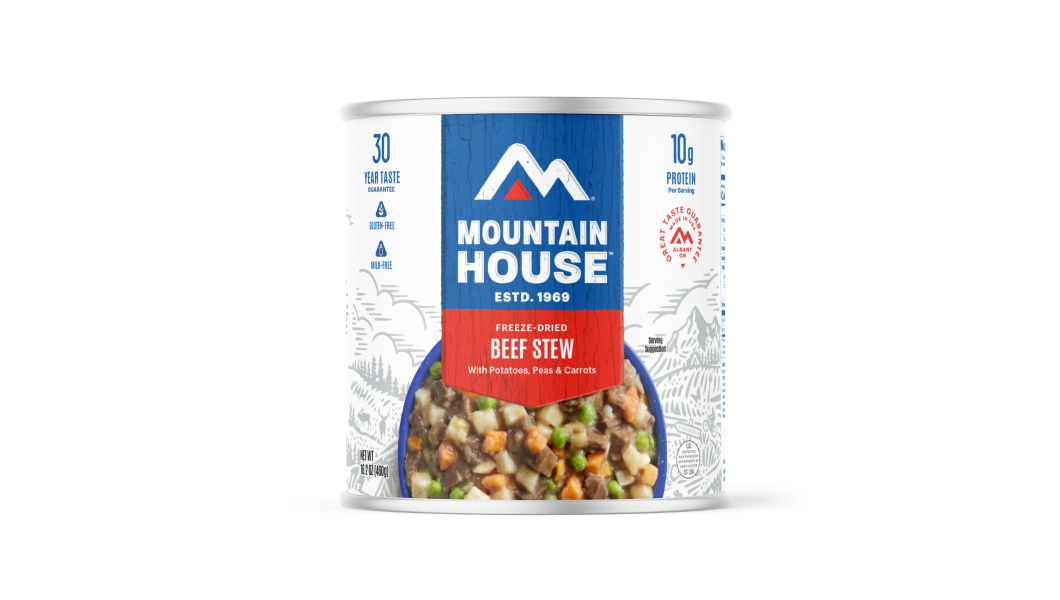
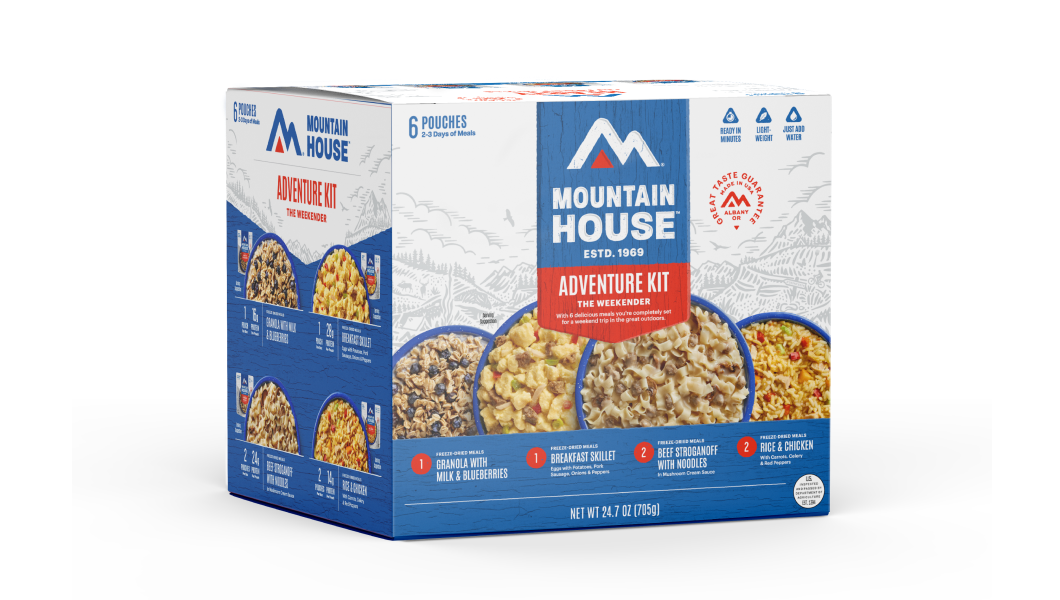
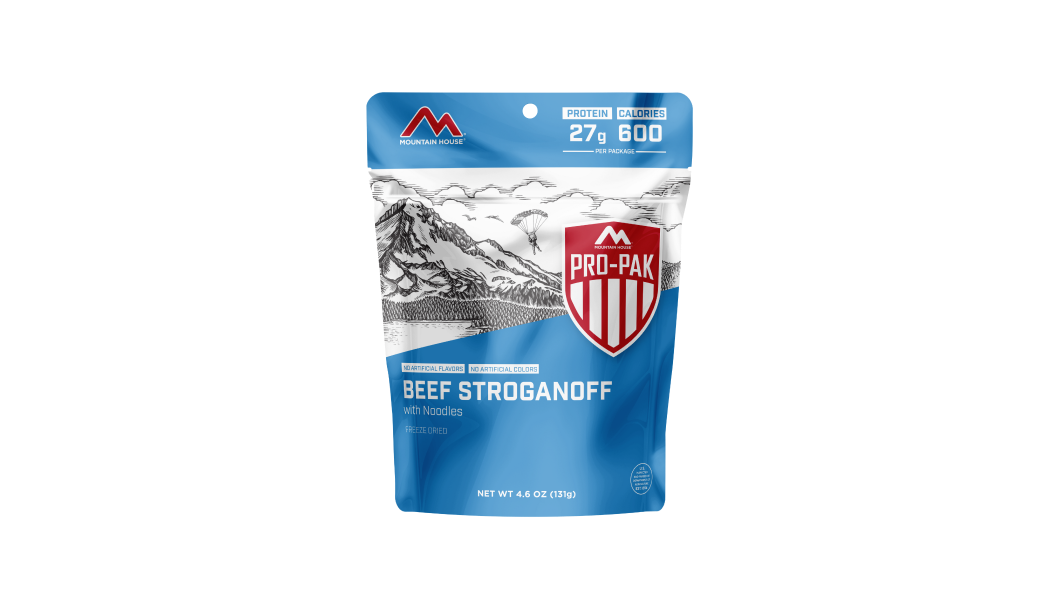
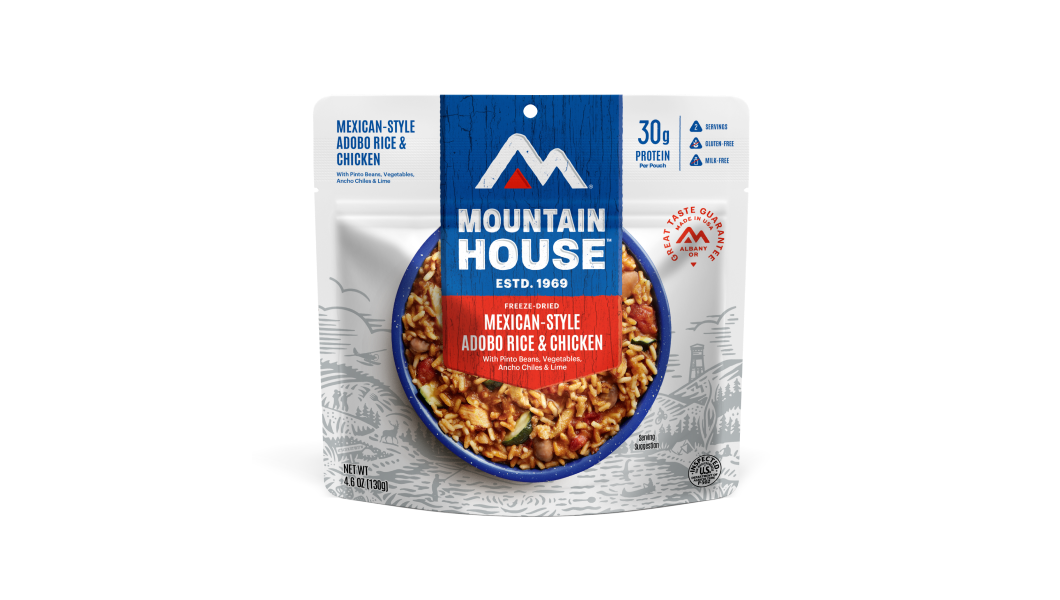
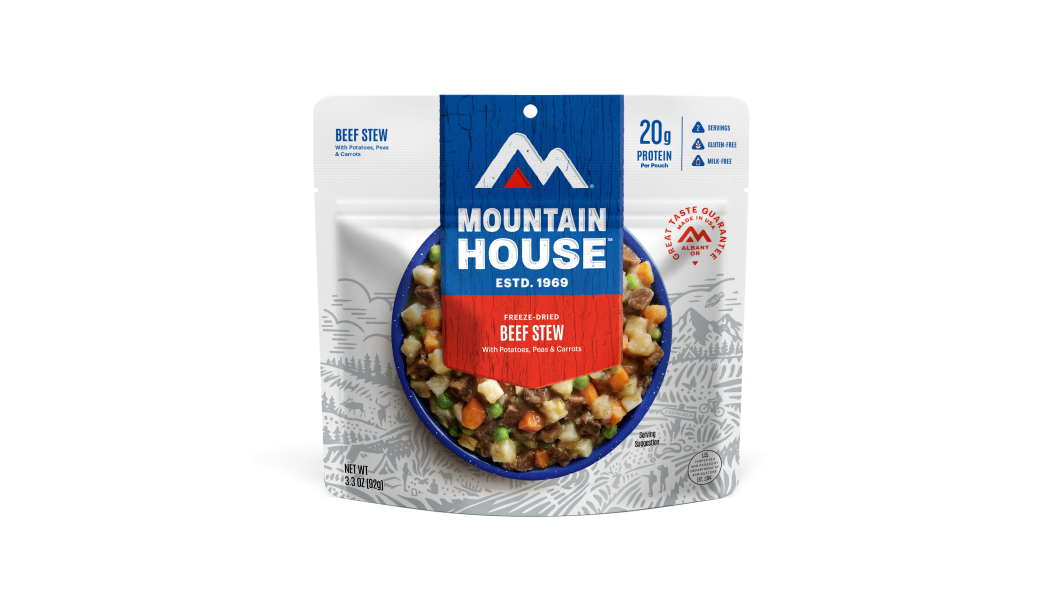
Inspired for an Adventure? Check out Beef Stroganoff - Pouch and Beef Stew - Pouch
Free Ground Shipping On All Orders
Over 2,100 Reviews
Add description, images, menus and links to your mega menu
A column with no settings can be used as a spacer
Link to your collections, sales and even external links
Add up to five columns
Add description, images, menus and links to your mega menu
A column with no settings can be used as a spacer
Link to your collections, sales and even external links
Add up to five columns
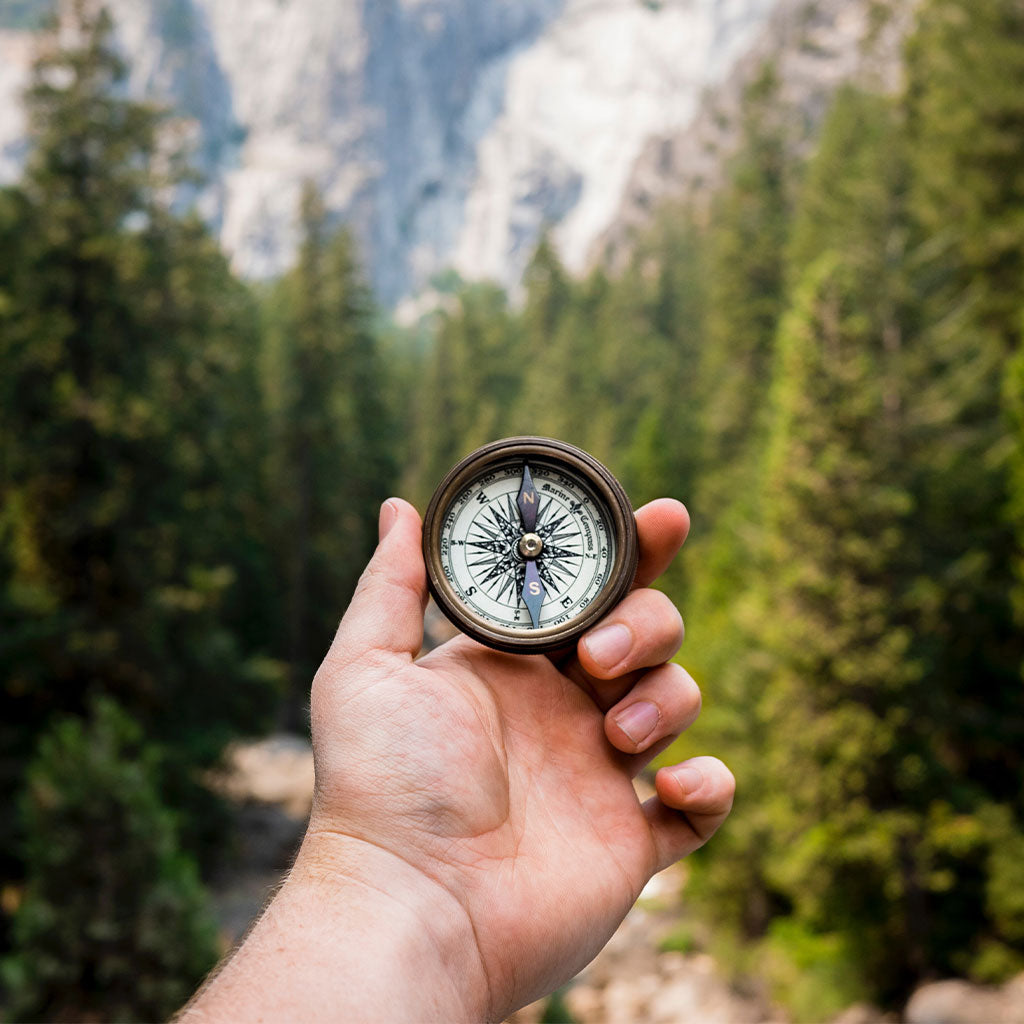

In Part 1 of our two-part blog series on “How to Use a Map & Compass,” we covered the design and symbology of topographic maps and the basics of map reading and land navigation. In Part 2, we’ll introduce the essential outdoors tool of the baseplate compass, and talk about using it on its own and how to navigate with a map and compass together.
The Compass
A magnetized needle suspended in a fluid-filled housing that aligns with the magnetic field of Planet Earth: that’s the marvelously simple fundamental design of the compass. Every outdoorsperson should own a good-quality compass and know how to use it: Few pieces of equipment are so vitally useful in the backcountry.
A compass, after all, can help you accurately assess your position from known landmarks, set and follow desired directions of travel (and navigate around obstacles in your path)—including when nightfall or fog obscure sightlines—and return to a starting point, among other functions. Such abilities help you not only stay on course but also get yourself “un-lost.”
While there’s no shortage of cheap pocket compasses out there, invest in a baseplate compass: one with a compass housing and dial—the azimuth ring—which can be rotated against a see-through plastic backing, or baseplate. This is the standard hiking, backpacking, and orienteering compass at this point. A sighting mirror on a hinged lid is a handy feature as well, as it makes reading bearings (see below) easier.
In the instructions we run through below, we’ll make reference to some of the basic parts of a baseplate compass. Those include:
- The meridian lines or orienting lines, which are parallel lines on the bottom of the compass housing
- The orienting arrow printed in the middle of the bottom of the housing and parallel to the meridian lines
- A direction-of-travel line (sometimes made into an arrow) on the baseplate that intersects the rotatable azimuth dial.
Depending on what you’re using your compass for, you may or may not need to align the orienting arrow with the freely moving compass needle. If you do want to align them, consider that you can do so either by moving the entire compass, or just by rotating the housing against the baseplate.
Declination

Image by OpenClipart-Vectors from Pixabay
There’s a fundamental difference between a map and a compass in terms of their ultimate reference points. The map’s North is geographic north, or “true north”; it points toward the North Pole. The North indicated by your compass’s needle, meanwhile, is magnetic north: that ever-shifting spot in the Northern Hemisphere where the planet’s magnetic field points downward. The magnetic north pole is currently drifting toward Siberia from the Canadian Arctic.
The difference between geographic north and magnetic north is known as magnetic declination, and it’s something you may or may not have to worry about depending on what sort of navigation you practice. But if you want to use your topo map and your compass together—and if you want to get the most out of these navigational aids, you likely will—you do have to take declination into account, at least in most places.
In parts of North America, declination is so close to zero that it’s a negligible factor you don’t have to worry about it. Elsewhere on the continent, it constitutes a number of degrees west or east. If you didn’t correct for it when setting a compass bearing using your map, you could wander well off course in short order—by more than 20 degrees, for example, in parts of northwestern Washington or Alaska.
Although you can simply add or subtract the declination of your location when taking compass readings, that’s cumbersome and confusing. (Cumbersome, too, is correcting for declination on your topo map rather than your compass, which typically involves drawing lines on it aligned with magnetic north.) On simpler compasses, you can add a piece of tape to the dial to indicate geographic north, measuring the declination by degrees west or east to do so. Modern baseplate compasses, though, make things easy by offering adjustable declination. The exact method varies by manufacturer, but this mechanical tweak takes the guesswork away once you’ve done it; you can freely use map and compass together without worrying further about declination, at least until you go to another location.
Topo maps list the declination for the area they cover, but because of the wandering nature of magnetic north it’s important to cross-reference this with the map’s publication date. If the map is several years or more old, you’ll need to calculate how much declination has changed to properly adjust for it. These days, the most direct and accurate way to find the declination for an area you’ll be recreating in is to go to the National Oceanic & Atmospheric Administration’s online declination calculator.
Bearings
A bearing is the direction from point to another, measured as the angle of this line of direction against a baseline. In navigation, the baseline is either magnetic or true/geographic north, and you’re typically measuring bearings based on your position with respect to another object.
You can take or measure a bearing between yourself and another object, or plot a course using a set bearing, both using your compass alone or by using it in conjunction with a topographic map.
Taking Bearings From the Landscape
To take a bearing of an object you can see—say, a peak you want to climb or a lake you want to fetch water from—face the landmark and hold the baseplate compass horizontally about at chest level, with the direction-of-travel line pointed at your destination. Then turn the compass case until the north end of the needle aligns with the orienting arrow. Read the bearing where the dial intersects the direction-of-travel mark.
(On a mirrored hinge-lid compass, you hold it at eye level when taking a bearing from a visible object viewed through the mirror’s notch or “viewing port,” with the lid partly open so that you can see the dial in the mirror and so that the mirror’s centerline intersects the middle of the compass, i.e. the compass needle’s pivot point.)
This bearing is more technically called a direct bearing. You can also take a back bearing to figure out your position in relation to a landmark. You can do this either by following the steps above except aligning the compass needle with the south end of the orienting arrow instead of the north end. Alternatively, because the back bearing is exactly opposite the direct bearing (a back bearing is also called a reciprocal bearing), you can simply take the direct bearing and then calculate the back bearing by either adding 180 degrees to the direct bearing if it’s less than 180 degrees or subtracting 180 degrees if it’s 180 degrees or more.
Following a Bearing in the Field
Maybe you want to follow a particular bearing from your starting point: for example, to reach an unseen campsite or water source you know lies along a particular bearing from a particular spot along a trail. To do so, turn the compass dial so that the desired bearing intersects the direction-of-travel line. Then, holding the compass level, turn your whole body until the orienting arrow aligns with the compass needle. The direction-of-travel line now points you to your destination.
Map & Compass Work
Now let’s talk about taking and plotting bearings on a topographic map using your compass. We’re going to be assuming here that you’ve adjusted your compass for declination.
To take a bearing between your known position on the map and a mapped object you want to reach, place one edge of your baseplate compass between the two positions, then rotate the housing so that its meridian lines line up with the map’s north-south lines (which could be the corners of the map). The measurement on the dial at the direction-of-travel line is your bearing. You can then follow this course the way we described above.
This method of taking a bearing also works for simply locating a mapped feature in your viewshed that you can’t identify by sight. This is how you can, for example, identify mountain peaks from a known vantage such as a summit or pass.
If you don’t know your location on the map, you can find it by using a visible landmark that you can identify on the map. The way to do it is by taking a bearing from said landmark and then drawing a position line from it on the map. Here’s how: Take a back bearing from the mapped landmark as we described above. Then place one of your compass back corners or edges on that landmark’s position on the map, with the direction-of-travel line pointed in your presumed general direction. Rotate the entire compass—not the dial—so that its meridian lines match the map’s north-south lines. Drawing a position line along the edge of the baseplate that intersects the trail you’re on—or a river or some other mapped feature you’re near—will indicate, either precisely or roughly, your location.
Tips for Following a Bearing
Whether you’ve determined your course from the map or from a visible landmark you want to reach, you don’t just want to trudge along staring at the compass the whole way. Instead, look for an easily recognizable landmark that lies along your calculated direction of travel between you and your destination: a distinctive tree, rock outcrop, or what have you. Note a landmark at your starting position, too, for initial reference, then proceed to the landmark ahead without looking at the compass.
Once you reach that landmark, check the compass bearing to find another conspicuous feature ahead you can walk to, and repeat as necessary until you get to your destination. The landmark signifying your starting point and the intermediate landmarks you pass along the way serve as aids for confirming your route in case you lose sight of the next landmark ahead.
The usefulness of using intermediate landmarks extends well beyond simply allowing you to look where you’re going and enjoy the scenery while following a bearing. For one thing, you’ll often lose sight of the feature you took a bearing from en route to it—by heading into intervening forest or foothills, for example. Using landmarks in between lets you navigate through this countryside without constantly needing to watch your compass.
Furthermore, this method helps you navigate around obstacles you encounter along your route, such as impassable reaches of rivers, sheer drop-offs, or flooded ground. Identify a landmark along your line of travel on the other side of the obstacle, then go off-course to detour around; on the other side, just head for that landmark to pick up the right bearing again.
What about an obstacle you can’t see across—a forested swamp, a band of huge looming cliffs, etc.? No worries! By making 90-degree turns to circumvent the barrier, and by counting your steps along the two legs of your detour perpendicular to your line of travel (so that you can walk back to it on the other side), you’ll be able to regain your course. A baseplate compass makes this method especially easy because you can keep the direction-of-travel line properly oriented the entire time, using the back edge of the compass to steer you on the perpendicular 90-degree turns.
Learning More About Map & Compass Navigation
We’ve only scratched the surface of map-and-compass navigation in these two blog posts: Treat ‘em as a springboard for more in-depth learning!
Along with such classic books as Björn Kjellström’s Be Expert With Map & Compass, Wilderness Navigation by Mike and Bob Burns, The Essential Wilderness Navigator by David Seidman (with, in the revised edition, Paul Cleveland), and NOLS Wilderness Navigation by Gene Trantham and Darran Wells, the National Wildfire Coordinating Group’s Basic Land Navigation digital document is helpful in map-and-compass navigation.
And remember, nothing’s better than getting some firsthand navigation instruction in the field, so consider taking one of the many map-and-compass courses offered by outdoor schools and retailers.

How to Hike Safely in Winter & Cold Weather

5 Wilderness Survival Situations: Skills and Strategies to Stay Safe
Stay Hungry for Adventure
Sign Up for Delicious Outdoor Meals & Exclusive Offers!
By clicking ‘Join Now’, I agree to the Terms of Service and Privacy Policy.


Join the adventure
©2026 Mountain House — All Rights Reserved.
Your Cart is Empty
Continue ShoppingYour Cart
Subtotal
$0.00
EXPRESS PAYMENT METHODS AVAILABLE IN CHECKOUT
Taxes and Shipping Calculated at Checkout
Your ExpertVoice deal.
$[Deal Price]
$[Original Price]
Discount applied at checkout.
On sale now — lower than your ExpertVoice discount.
Not eligible for ExpertVoice discount.

