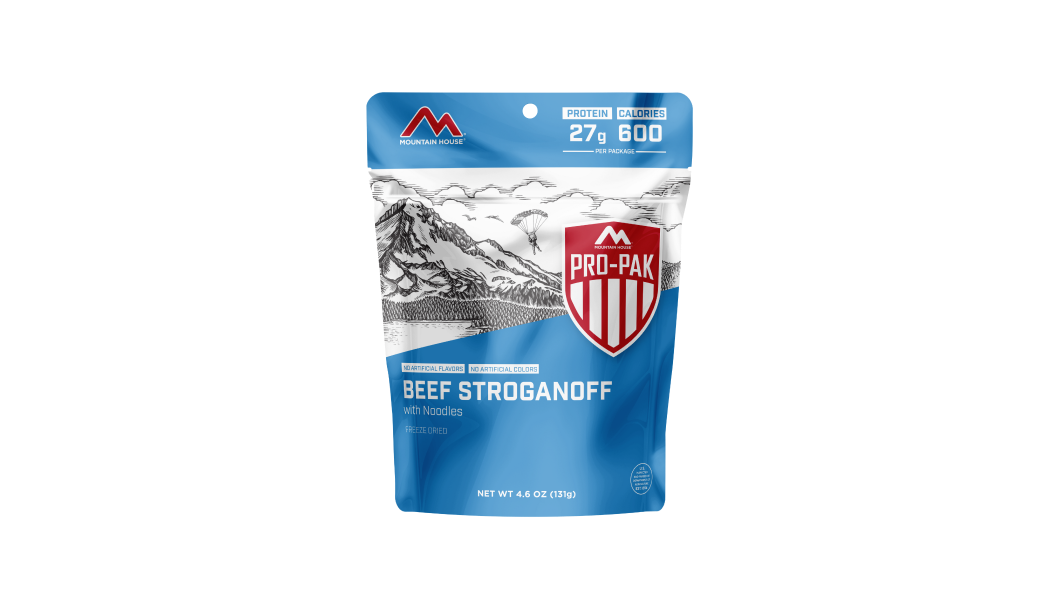
Inspired for an Adventure? Check out Beef Stroganoff - Pouch and Beef Stew - Pouch
Free Ground Shipping On All Orders
Over 2,100 Reviews
Add description, images, menus and links to your mega menu
A column with no settings can be used as a spacer
Link to your collections, sales and even external links
Add up to five columns
Add description, images, menus and links to your mega menu
A column with no settings can be used as a spacer
Link to your collections, sales and even external links
Add up to five columns


Crossing rivers is often the riskiest element of a typical hiking or backpacking trek. Even a midsized stream has the power to potentially knock you off your feet. River crossings must be undertaken with an abundance of caution and sharp-eyed study, and often the correct decision is not to cross at all.
We know a lot of your Mountain House lovers out there are avid hikers and backpackers who are likely to run into at least a modest-intensity river crossing on occasion, so we thought we’d run a refresher article on river safety tips!
The First Step in River Safety: Should You Even Try Crossing It?
Again, you never have to cross a river. If it’s too dangerous to do so, it’s far better to search for a better crossing site, retrace your steps, or wait for conditions to change. When should you make that judgment call? Here are some general warning signs that a river is likely too dicey to try fording:- The river is muddy and/or carrying lots of branches, litter, and other debris
- You can hear rocks clacking or rolling within the current
- You can’t keep up with a stick you toss into the current by walking alongside
- The river is visibly rising
As Marni Goldenberg and Bruce Martin note in the Wilderness Education Association’s Hiking and Backpacking, a solo hiker should be leery about trying to cross a river that’s deeper than his or her mid-calf. A group of hikers are often able to safely cross water as deep as mid-thigh. That’s a general guideline: You need to make the call based on the current conditions of the river and your own physical capabilities and experience. A major takeaway, though, is that it’s always safest to cross in groups; crossing any decent-sized river on your own is dangerous, though a reality for many solo adventurers of course.
Keep in mind that a river fed by snowmelt or glacial ice will, all else being equal, be running lowest in the morning and highest in afternoon and early evening. So try to schedule your crossing for early in the day, and if you reach the riverbanks too late in the day and the current looks too muscular, hold off and cross the next day.
On this count, too, it's worth emphasizing some backcountry common knowledge: Rivers often run intimidatingly and often impassably strong in spring or (in mountain country) early summer when the snowpack's melting off. When planning a hike, remember this simple truth and keep in mind many trails are only safe to attempt later in the season, post-thaw.
You might also hit a river that’s swollen from precipitation. You don’t want to cross such a charged-up flow, but if your timetable allows you can wait and see if water levels fall and conditions improve to the point where you can safely ford.
River Safety: Where to Ford?
If you can avoid it, don’t cross at a riverbend: Here the river is actively cutting on its outside corner, which often therefore has unstable banks, a deep and swift channel, and wedged logs or overhanging trees; the riverbed at these bends will be uneven, too, upping the challenge of fording. Straightaways between bends are usually the best spots.
Don’t “blindly” cross a river where the trail does or where cairns or blazes indicate. Hopefully, these are the best places to ford, but river conditions fluctuate (as does the alluvial landscape itself), so you should scout around the area in case there’s a safer crossing up- or downstream of the designated one.
Ideally, you’ll cross where the river is broad and shallow with relatively level footing, and where it’s easy to wade into and out of the water. River narrows or chutes aren’t usually good crossing points (unless you can safely jump 'em) because here the current is swiftest and deepest. You also don’t want to cross above big rapids, waterfalls, or logjams; if you lose your footing you might be swept downstream into these danger zones.
It’s best to cross where the water’s fairly clear so you can see the substrate and get a visual sense for depth; also, as we alluded to above, opaque water commonly indicates an especially strong and vigorous flow primed by rainfall or meltwater. But otherwise you can safely cross muddy or silty water in many cases if you use caution and probe for changing depth or underwater obstacles with your trekking pole.
You can also get a rough estimate of the depth of the channel by tossing a good-sized stone into the flow and listening to the sound of the splash.
Your exit point should be clear of obstructions such as logs or heavy shrubbery, and it should lie downstream of your entry point so that you can angle across with a bit of help from the current.
River Safety: How to Cross
Before crossing a river, place your clothes, sleeping bag, and as many other items as you can in waterproof sacks within your pack in case you do take a dunk. Mountain House pouches are waterproof and they can be reused for storing small items. Unbuckle your chest strap and hip belt: You want to be able to quickly jettison your pack if you fall into the water. This is super-important.
Though some people cross streams barefoot or in sandals, it’s better to do so in a closed-toe shoe or boot so you protect your feet from cuts. You might consider, though, ditching your socks for the crossing so you can put them on dry on the other side. Tight-fitting leggings or (in warmer water) shorts, even underpants, make preferable river-fording outfits than baggy pants, which drag in the current.
If you’re crossing alone, face upstream and cross sideways, leaning into the current with your trekking pole and shuffling with short, dragging steps. Always keep at least two points of contact with the riverbed: in other words, keep one foot and the tip of your pole braced on the bottom while taking a step. Move steadily, but if you hit unexpectedly deep water or feel the current is stronger than you anticipated, turn back.
Don’t stare at the nearby river surface while crossing: That’s a good way to get disoriented or even induce vertigo. Look well upstream or at the opposite shore; you’ll likely be glancing between those two points regularly to gauge your progress anyhow.
Two hikers may cross side-by-side with linked arms, or facing while grasping one another’s shoulders or arms. Groups of three or more may consider crossing in a line holding onto one another’s shoulders, with the strongest hiker upstream, bracing with a trekking pole as in a solo ford; this person takes the brunt of the current and creates a helpful eddy for the people behind, who in turn help support the leader.
Three or more hikers may also form a ring with hands on shoulders and cross in a rotating fashion, or in a triangular wedge with (again) the strongest person upstream.
River Swimming Safety: What If You Fall During a River Crossing?
If you lose your footing and are swept downstream during a river crossing, don’t panic! Lose your pack (remember those unbuckled straps?), turn onto your back, and keep your feet pointed downstream and held high. This position helps you avoid getting entrapped by submerged obstructions and allows you to shove off boulders with your feet. Paddle your arms while you’re thus rafting to steer your way toward shore.
How to Hike Safely in Winter & Cold Weather

5 Wilderness Survival Situations: Skills and Strategies to Stay Safe


Stay Hungry for Adventure
Sign Up for Delicious Outdoor Meals & Exclusive Offers!
By clicking ‘Join Now’, I agree to the Terms of Service and Privacy Policy.


Join the adventure
©2026 Mountain House — All Rights Reserved.
Your Cart is Empty
Continue ShoppingYour Cart
Subtotal
$0.00
EXPRESS PAYMENT METHODS AVAILABLE IN CHECKOUT
Taxes and Shipping Calculated at Checkout
Your ExpertVoice deal.
$[Deal Price]
$[Original Price]
Discount applied at checkout.
On sale now — lower than your ExpertVoice discount.
Not eligible for ExpertVoice discount.


