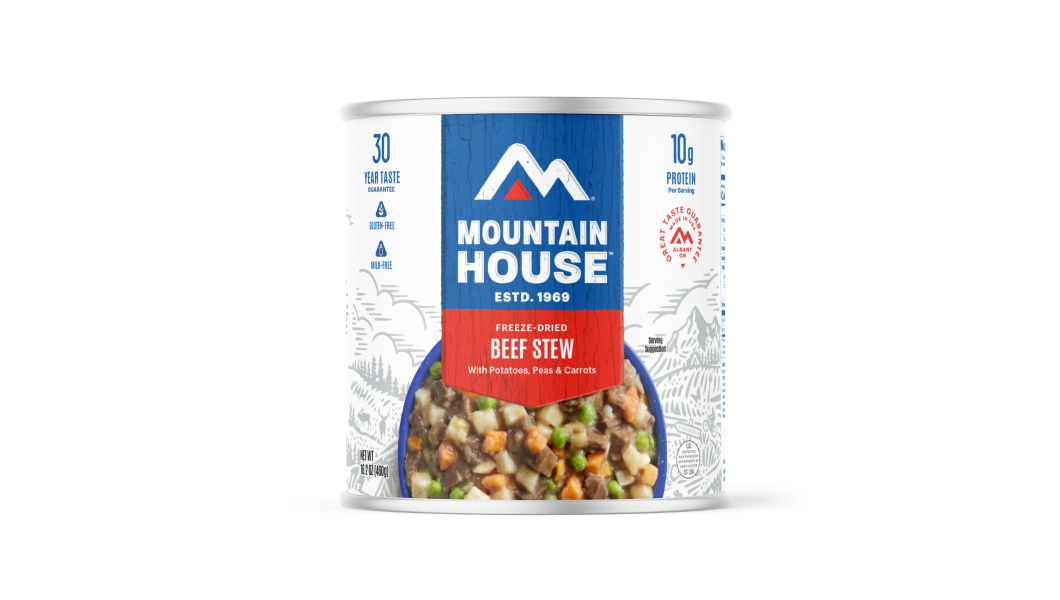
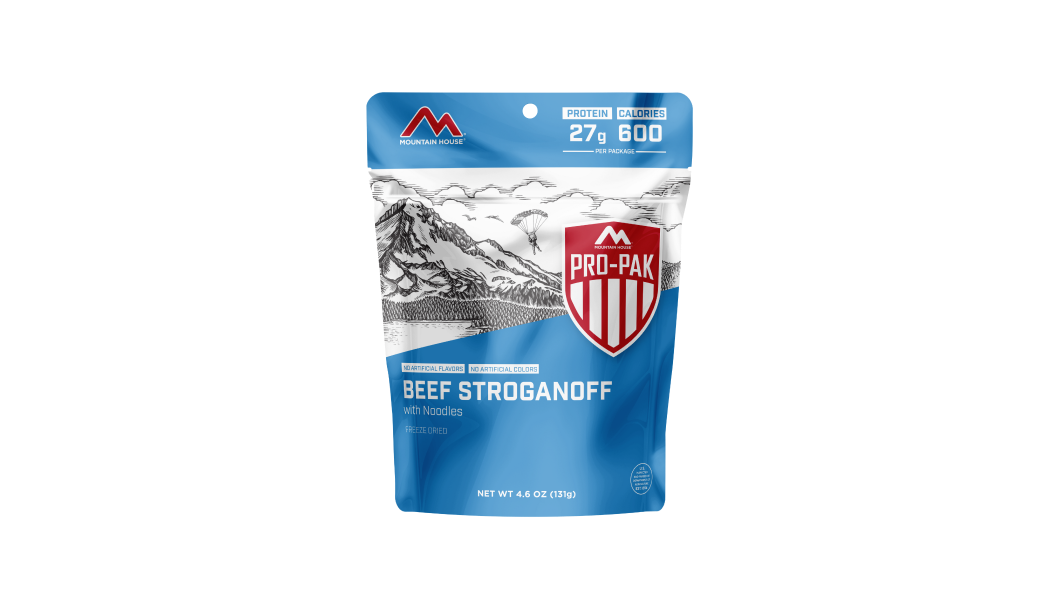
Inspired for an Adventure? Check out Beef Stroganoff - Pouch and Beef Stew - Pouch
Free Ground Shipping On All Orders
Over 2,100 Reviews
Add description, images, menus and links to your mega menu
A column with no settings can be used as a spacer
Link to your collections, sales and even external links
Add up to five columns
Add description, images, menus and links to your mega menu
A column with no settings can be used as a spacer
Link to your collections, sales and even external links
Add up to five columns


Every outdoors person should know how to light a fire. It’s not simply a source of pride at that lakeside cookout with your buddies: It’s also a vital, life-saving skill in case you ever find yourself in a survival situation. Let’s review some firestarting basics, including the requisite ingredients and the easiest way to start a fire. Practice makes perfect when it comes to quickly and efficiently lighting a fire—and speed and efficiency are the bywords when you’re caught out in a blizzard or a torrential downpour, or you just took an unexpected dip in the river and need to warm up and dry out posthaste. So try different ways to make a fire in non-emergency situations: It won’t take long to hone your skills, and it’ll make you that much more prepared in the event that getting some flickering flames going is of life-or-death importance.
A Quick Leave-No-Trace Note
A campfire's magical, no doubt about it, but it's often not the most eco-friendly choice when you're out backpacking. If you do make a campfire, you should be thinking about Leave-No-Trace principles. What we'll be discussing here is emergency fire-starting for those scenarios where having as light an impact as possible on the environment is not necessarily your top priority.
The Basics of Emergency Fire Starting
You may have heard about the “fire triangle” before. It’s a simple way to think about the three basic ingredients required for fire to happen: namely air, fuel, and heat. Absent one of those three ingredients, a fire isn’t going to happen; and if the components are out of balance, your fire may not be sustainable. A source of ignition, of course, is also critical. (It can be thought of as part of the “heat” category.) Let’s tackle fuel first. Your fuel setup will consist of tinder, kindling, and fuel wood.
Tinder
Tinder’s the highly flammable and fast-burning initial fuel used to spark your fire in the first place. Try holding a match or a lighter to a dry branch and see how far that gets you (hint: not far). Poorly chosen tinder—or, and this is surprisingly common, no tinder at all—is a common reason many a campfire flunks out. It’s a good idea both to carry tinder in your survival kit and to know promising sources of natural tinder to gather. In terms of the latter, some good options include:- dry evergreen needles (pine needles are best, just because they’re usually longer)
- dry and crushed hardwood leaf litter
- wood shavings
- dry moss or lichen
- dry grass
- dry shredded outer bark (especially birchbark, if you’re in range of paper or yellow birch)
- strips of inner tree bark
- the seed “fluff” from a cattail head (cattail’s among the more broadly distributed plants, often fairly easily tracked down in marshes, lakeshores, riverbanks, swales, hollows, etc.)
If you’ve got a pine forest handy, another excellent, tried-and-true source of tinder is so-called “fatwood,” also called “heart pine,” “lighter knot,” and “fat lighter.” This is the resin-imbued heartwood of a pine, formed where sap has hardened. It quickly and easily lights, even if it’s damp. Where can you easily get at fatwood? The best sources come from well-aged pine deadwood: a stump where outer bark has sloughed off, the root stubs of a decayed log, or a branch nub from a standing snag. The nice thing about a hunk of fatwood is that it’s a long-lasting source of tinder: Just pare off some shavings when you need to start a fire. In terms of manmade sources of tinder, some of the best is clothes lint. In a pinch, you may be able to scrounge some from your pockets to get an emergency fire going. Better yet, save the lint from your dryer at home and keep it with your other fire-starting materials in a waterproof container. Another good, space-saving tinder source you can prepare at home is long, thin strips of newspaper you’ve rolled together and bound with a rubber band. Many outdoors people also carry around cotton balls presoaked in petroleum jelly: These will light quickly and burn awhile. Another good tool to carry around with you in the tinder department is char cloth (or simply char). This is cotton fabric that has been blackened by flame but not completely burned. The charred material easily catches a spark and can then be used to light tinder. There are different ways of making char cloth, the roughest-and-readiest simply lighting some cotton on fire and then snuffing out the flame. More efficient is to put a cotton scrap inside a tin or an aluminum foil packet in which you’ve punched a small hole. Put this tin or packet over a flame. Smoke or fire will start streaming from the hole as gases are burned off; as long as the hole you’ve punched isn’t too big, the cloth inside—not exposed to oxygen—won’t burn. After the smoke or flame dies down, remove the tin or packet from heat and let it sit a little bit. Open it up, and you should have a blackened piece of char you can then keep in your survival kit. (Char cloth, incidentally, was often the tinder kept inside “tinder-boxes” back in the day.) It usually takes only one spark to catch in char cloth. Lay the tinder you’ll use in your fire structure atop the smoldering part of the char to ignite it.
Kindling & Fuel Wood
Kindling refers to the larger fuel that catches fire from tinder and burns long enough to ignite your bigger-yet fuel wood. Natural kindling includes twigs and small branches; an artificial option is segments of cardboard folded into branch-like bundles. It’s good to have a variety of sizes of kindling on hand—from little twigs to wrist-diameter branches—so you can progressively feed a growing fire. You should also gather different-sized fuel wood so you can regulate the size and heat of your fire.
Fire Ignition
The most beautifully structured fuel setup in the world won’t give you a happy fire without an ignition source. It’s always a good idea to carry a few different ignition tools so you’ve got a backup or two on hand if the need arises. Matches and lighters are the obvious first choices; carry both in a waterproof container. You should also consider having flint and steel or a ferrocerium rod and striker on hand. With a little practice, these can be dependable means of lighting tinder even in the rain. Now, there are lots of other ways to start a fire using friction, including hand drills and bow drills as well as fire plows. Learning how to use these “primitive” tools doesn’t only give you yet another backup method for fire lighting: It also lends some profound historical perspective, as cultures around the world used such tools for millennia. That said, they can be mighty hard to master and also generally time-consuming. In a survival situation, you’re usually better off using an easier and quicker ignition method if it’s available.
Best Way to Start a Fire
Now that you know the basics of fuel and ignition sources, let’s run down a basic way of getting an emergency fire going. In this case we’re using the classic “teepee” structure; afterward we’ll also mention a couple of other fuel designs you can try.- Clear a space for your fire. Scrape away brush, leaf litter, duff, and surface soil to square off a space at least three feet across. In snow cover, you can either dig to bare ground or make a platform of green logs or branches on which to light your fire.
- Consider building a wall around your fire site with rocks or logs, but don’t stack this so high that you over-buffer the site from airflow.
- Place a pile of tinder in the center of your fire space. If you’re using newspaper strips, tie them in a loose knot to increase the ignitable surface area and prolong burning time.
- Brace twigs in teepee form around this tinder bundle. Then stack some larger pieces of kindling around that structure, being sure not to pack the wood too tight to impede airflow.
- Light the tinder. Gently blow on the sparks to grow them into flame.
- Once the kindling catches, add a few more pieces to start building a bed of embers.
- When you’ve got embers and burning kindling going, begin adding larger fuel wood.
If you’re struggling to maintain the teepee shape, consider making a base for it by lying two pieces of maybe wrist-sized kindling parallel to one another and placing your tinder pile between them. These will give your braced kindling a little more support. You can also make a “lean-to”-style fire by driving a green branch into the ground at an angle, ribbing it loosely with kindling, and lighting a tinder pile placed well inside the structure. Other prefer a pyramidal setup with logs and branches stacked crosswise, the smaller wood at the top. You can light a tinder and kindling atop that and allow the fire to burn downward.
How to Start a Fire in the Rain
What if you’ve got a bone-chilling downpour going on when you’re trying to start a fire? (A bone-chilling downpour may well be the main reason you’re trying to start a fire.) Well, seek out any kind of natural shelter that you can: a rock overhang, say, or a large leaning tree trunk, or simply a heavy tree canopy. (You’d be amazed at how effectively a thick canopy can shield you from rainfall: a stand of hemlocks, which have tiny and tight-packed needles and dense interlaced boughs, is particularly handy.) You can also make a shielding shelter with tarps, ponchos, or branches and boughs, but obviously you want to allow for ventilation and avoid lighting your shelter on fire. Actually, a well-constructed fire can burn fairly well even when directly exposed to rain as long as the precipitation isn’t too heavy. But what about finding dry-enough fuel? Well, hopefully you have some nice dry tinder in your survival kit—bundled newspaper, a fatwood chunk, charcloth, etc. But you can also generally find dry natural tinder even in a rainstorm. Look around the base of tree trunks for twigs, leaf litter, dead fallen moss and lichen, and such: Overhanging boughs can keep the ground here remarkably dry even in heavy rain. Conifers especially often have dead branchlets on their lower trunk that can be snapped off to serve as tinder. If the ground’s very wet, consider using a platform of logs to light your fire upon. And when you have a fire going, place damp fuel wood around it to start drying and heating the wood. Keep in mind there are many ways to start a fire, and just about everybody has his or her own opinion on the choicest method. Again, the trick here is practice: Figure out what works for you, and challenge yourself with different fuel types, different ignition sources, and different ambient conditions. Knowing several different methodologies gives you that much more peace-of-mind out in the great outdoors.
Southern Comfort Food Ideas for Camping & Backpacking Trips

Easy Camping & Backpacking Rice Meals You’ll Love


Stay Hungry for Adventure
Sign Up for Delicious Outdoor Meals & Exclusive Offers!
By clicking ‘Join Now’, I agree to the Terms of Service and Privacy Policy.


Join the adventure
©2026 Mountain House — All Rights Reserved.
Your Cart is Empty
Continue ShoppingYour Cart
Subtotal
$0.00
EXPRESS PAYMENT METHODS AVAILABLE IN CHECKOUT
Taxes and Shipping Calculated at Checkout
Your ExpertVoice deal.
$[Deal Price]
$[Original Price]
Discount applied at checkout.
On sale now — lower than your ExpertVoice discount.
Not eligible for ExpertVoice discount.
