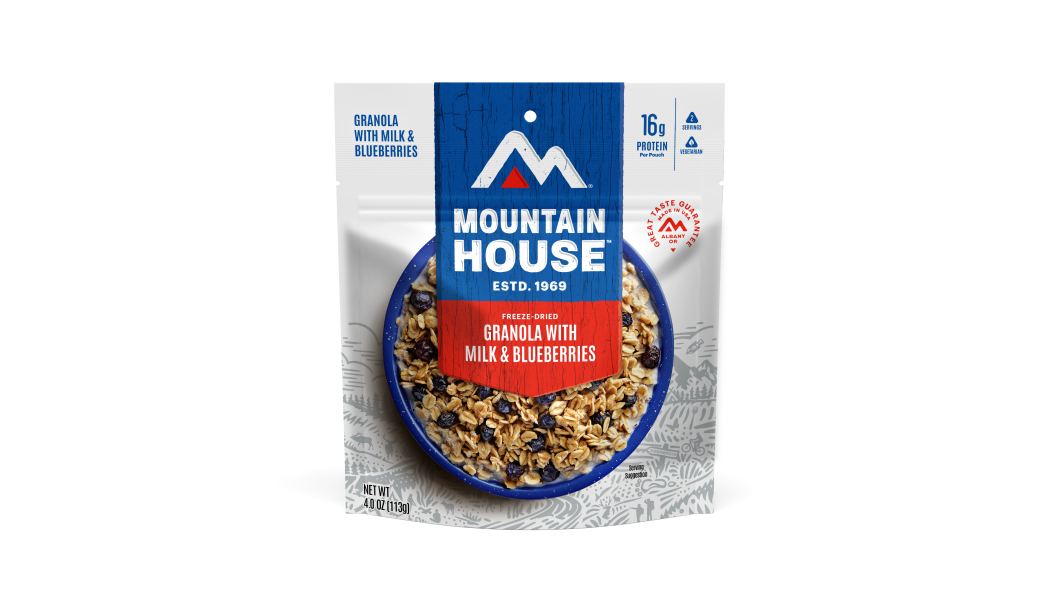
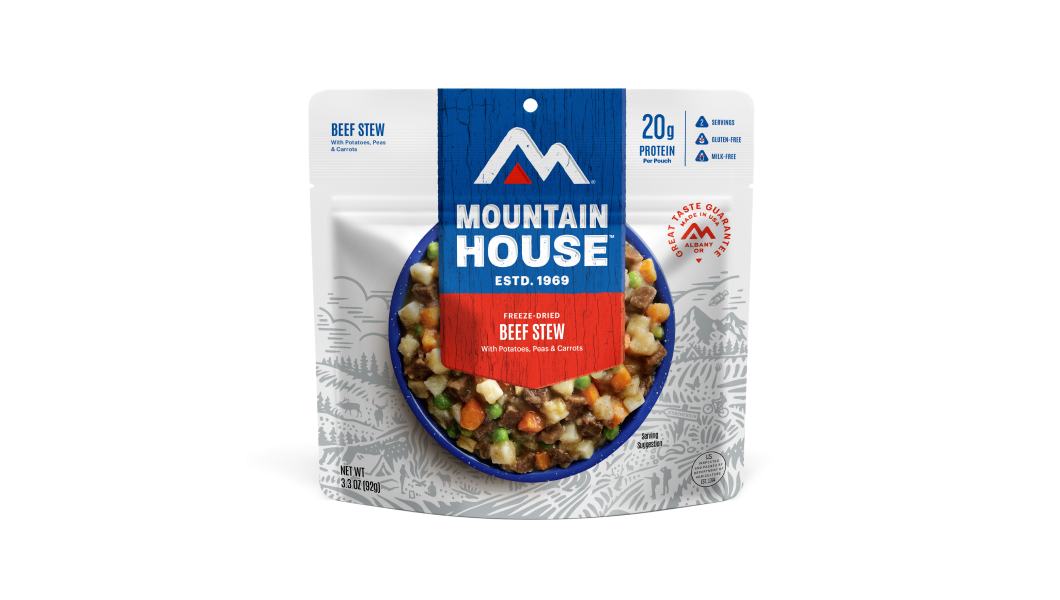
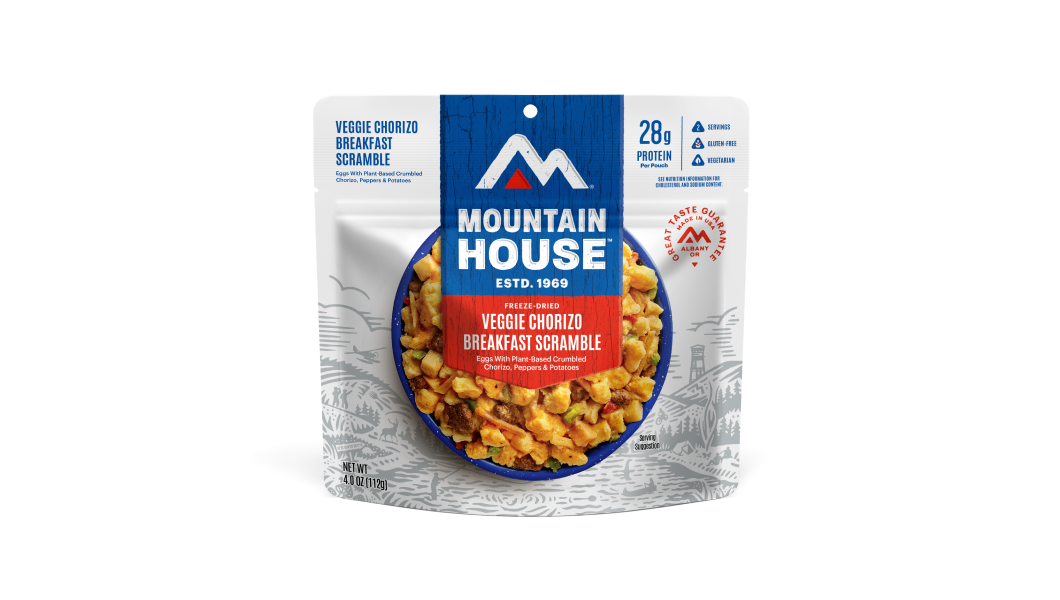
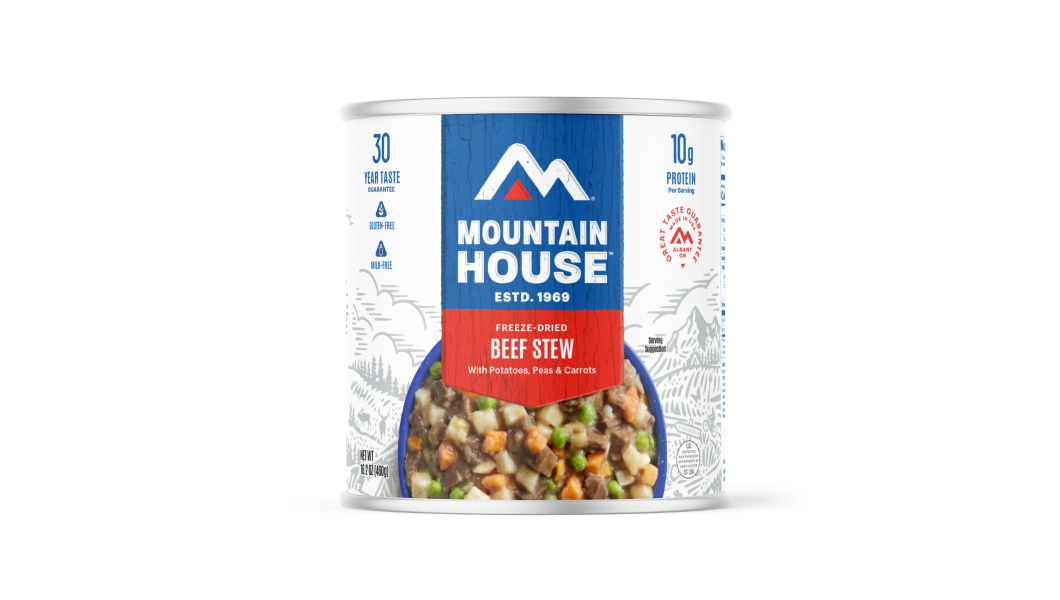
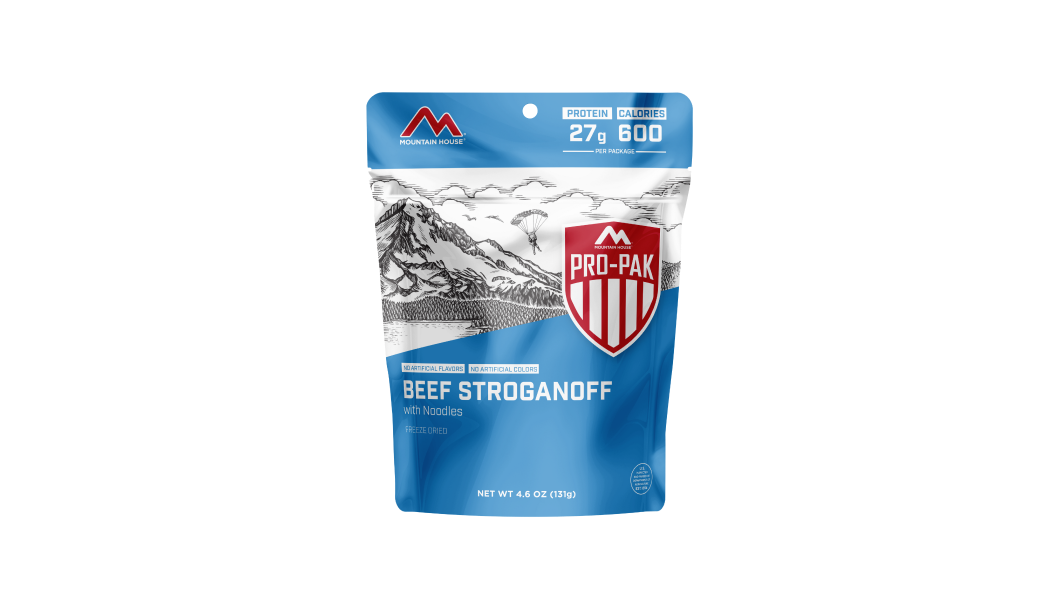
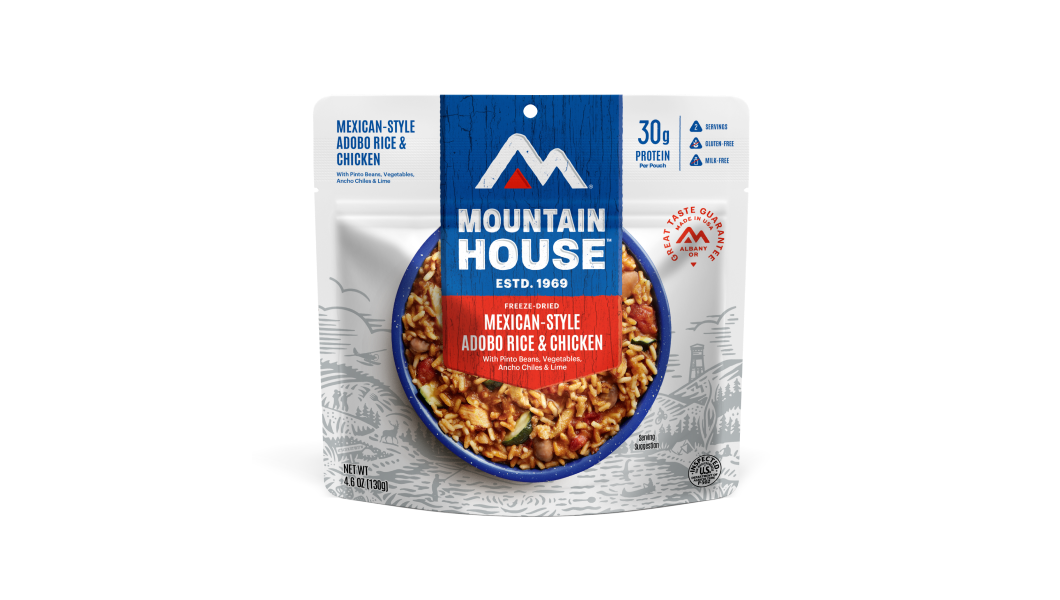
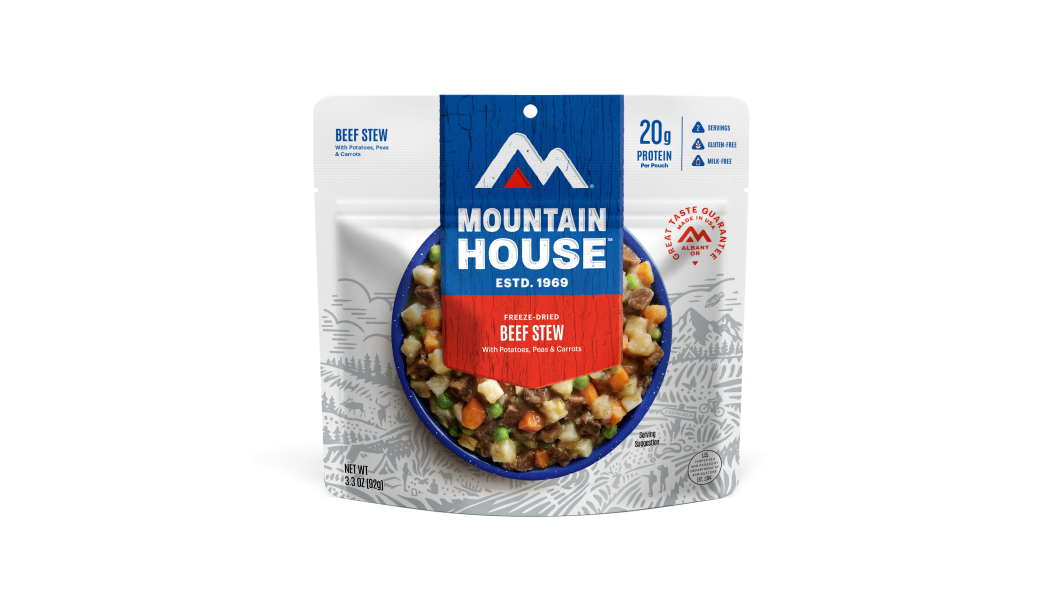
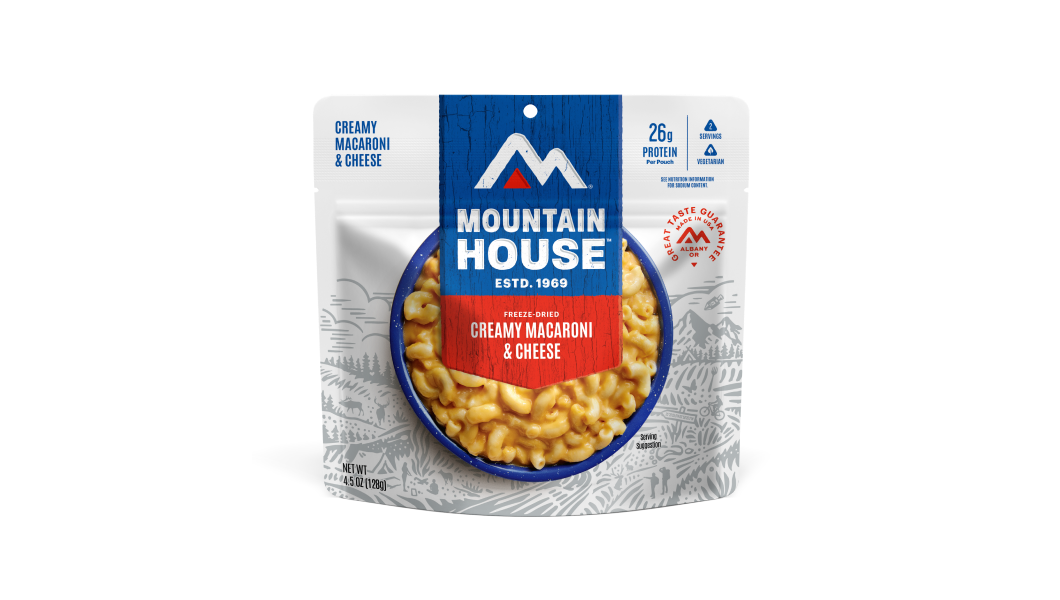
Inspired for an Adventure? Check out Beef Stroganoff - Pouch and Beef Stew - Pouch
Free Ground Shipping On All Orders
Over 2,100 Reviews
Add description, images, menus and links to your mega menu
A column with no settings can be used as a spacer
Link to your collections, sales and even external links
Add up to five columns
Add description, images, menus and links to your mega menu
A column with no settings can be used as a spacer
Link to your collections, sales and even external links
Add up to five columns


When the cold temperatures settle in and snow begins to blanket the landscape, many outdoors enthusiasts assume it’s time to pack away their gear until warmer days return. But here’s the secret: there is no “off-season” for camping.
The quiet solitude of winter, the transcendent snow-draped scenery, and the opportunity for a few extra mugs of hot cocoa around the campfire make cold-weather camping outings uniquely rewarding. With the right preparation and packing, even those new to winter camping can gain confidence—especially now, thanks to modern gear technologies that bridge the gap between comfort and adventure.
Before you rush out to stock up on all-season gear, let’s take a moment to cover the basics of winter camping. We’ll explore the different styles of cold-weather overnights, guide you through gear choices, and share strategies for staying warm and comfortable—helping you fully embrace the year-round potential of the great outdoors.
Types of Winter Camping
First, you must determine which style of winter camping best suits your comfort level, the gear you have, and the experience you hope to create.
Car/Tent Camping: Many campgrounds remain open in winter—just verify availability and road conditions beforehand using resources like The Dyrt or Recreation.gov. 3-season tents can often suffice below the tree line, but 4-season models are preferable—particularly when there’s substantial snowfall. Sleep systems should include a sleeping bag rated below expected temps, an insulating sleeping pad, and warm, moisture-wicking layers. Pack a stove, plenty of fuel, some easy-to-prepare meals, and extra water. With your car nearby, you can bring along all the cozy gear you need (and a car emergency kit just in case).
Backcountry Camping: This more challenging and remote option demands careful planning and it’s best to go with someone experienced in backcountry camping. Depending on where you’re headed, waterproof boots may suffice if there’s minimal snow, but icy conditions might warrant micro-spikes, and heavy snow often calls for skis or snowshoes—and well-insulated boots. You’ll need a 4-season tent, two sleeping pads for better insulation, and a sleeping bag rated for lower temperatures. Don’t forget a shovel for preparing your site, navigation tools, and calorie-dense meals. Ultimately, safety and comfort hinge on thoughtful clothing layering, reliable gear, and a solid understanding of winter conditions.
Van/RV Camping: A van or RV offers shelter, built-in amenities, and sometimes a stove and small fridge—making it a less rugged but still adventurous winter option. Bring layers, a backup stove, vehicle emergency gear (including chains), and a few simple, no-fuss meals in case of mechanical hiccups. Renting a winter-ready camper van can be a straightforward way to explore snowy landscapes while maintaining a measure of indoor comfort.
While all these styles have their appeal, this article will primarily focus on the more accessible car/tent camping experience.
Choosing Your Winter Tent
As referenced above, 4-season tents are the preferred choice for cold-weather and snow camping. While 3-season tents might suffice in milder winter climates, if you’ll be facing chilly temperatures, significant snowfall, and the threat of storms, the added protection and durability of a 4-season model make a huge difference.
Look for the characteristics of a high-quality winter tent including solid fabric, strong aluminum or carbon-fiber poles, a wraparound, ground-hugging rainfly, generous vestibule space, and a dome shape designed to resist heavy snow and strong winds.
You’ll usually be paying more for a 4-season tent and hauling more weight, but c’mon: You don’t want to be skimping on shelter when it comes to snow camping.
If you’re going to base-camp it awhile, you might decide to go a more luxurious route by using a winter camping hot tent: a large (8x10 feet or more) shelter, typically canvas-walled, equipped with a woodstove for maximum interior comfort. The downside, of course, is the significantly greater gear-haul required, for which a vehicle or sled may be warranted.
Snow Shelters
It’s a very sensible idea to learn how to make a variety of snow shelters if you’re going on a winter camping trip. These constructions can make tenting out in winter generally more comfortable; they can also save your life if Old Man Winter throws a multi-day blizzard your way.
Building a snow wall around your tent shields it from biting wind and snow. And in the face of a bad storm, a snow trench, snow cave, igloo, or quinzhee can serve as a warmer, drier, and more resilient refuge than a tent—and one surprisingly quick to create, if you’ve got a snow shovel and know what you’re doing. However, these demand practice and careful evaluation of snow quality to ensure your building material will safely stand; temperature is also a big factor, with an igloo, in particular, requiring quite cold weather to safely construct.
Winter Camping Essentials and Gear
Besides the right tent, proper winter camping gear is the key to staying warm, safe, and comfortable. Beyond typical camping items like headlamps, water, and first aid kits, consider the following:
-
Sleeping Bag: Choose a bag rated at least 10°F colder than your expected low temperatures; down offers superior warmth, while synthetic is more forgiving if it gets wet. Sleeping bag liners add extra insulation and extend the temperature rating of your primary sleeping bag.
-
Double Layer of Sleeping Pads: Use a foam pad under a self-inflating pad for maximum insulation against the frozen ground.
-
Bivy Sack: Serves as an emergency backup shelter or adds warmth and comfort in a snow cave or trench.
-
Fire-Starting Materials (Waterproofed): Ensure you have a reliable ignition source in a sealed container—crucial in a snowstorm scenario.
-
Compass and Navigation Tools: A lifeline in whiteout conditions, ensuring you can find your way when visibility is poor.
-
Layered Clothing System: Include base, middle, and outer layers along with wool hats, neck gaiters, gloves/mittens, and moisture-wicking socks to trap warmth and manage sweat in changing weather.
-
Footwear for Conditions: Waterproof boots for light snow, micro-spikes for ice, and skis or snowshoes (with well-insulated boots) for deep snow drifts. Gaiters help keep snow out and protect your legs.
-
Mobility Aids: Trekking poles with baskets can dramatically improve travel over snowy or icy terrain.
-
Larger Backpack (70–80L): Extra gear and bulkier clothing require more carrying capacity than typical 3-season setups.
-
Sled: Haul extra gear more easily over flat or rolling snowy landscapes.
-
Whisk Broom: A simple tool for brushing snow off boots, clothing, and tent surfaces, minimizing moisture inside your shelter.
-
High-Calorie Foods: Fuel up with nutrient-rich meals (5,000–6,000 calories per day) to meet increased energy demands. Slow-burning fats are great evening fuel for overnight warmth.
-
Convenient, Just-Add-Water Meals (e.g., Mountain House): Lightweight and quick to prepare, these meals reduce hassle and provide comfort in cold, dark conditions. Choosing a flavorful option with warming spices such as the Cheesy Beef Enchilada Bowl can help you stay cozy and satisfied when temperatures drop.
-
Hydration Management: Dry winter air and strenuous travel demand frequent water intake. Insulate your water containers to prevent freezing and consider melting snow if necessary (with extra fuel and proper purification).
-
Liquid Fuel Stove and Extra Fuel: Liquid fuel performs reliably in cold conditions, crucial if you’re melting snow for drinking water. Bring more than you think you’ll need.
View our full winter camping checklist here.
Selecting a Good Winter Campsite
If you aren’t camping in a designated campsite, be sure you give yourself enough time in the afternoon to find a promising place to bed down. The shortness of winter days can easily catch you off-guard, and this season especially it’s definitely best to be setting up camp before nightfall.
You want good light, first and foremost, because selecting good winter camping spots, especially when there’s snow, requires careful inspection of the setting. Here are some terrain-related things to consider:
-
Look for signs of a location’s relative exposure to wind, such as a shallow, scoured snowpack or sculpted ridges or banks of snow: These would be places to avoid camping if possible, or where you’ll want to erect snow walls (see below) as a windbreak.
-
Heavy, soft snowdrifts, on the other hand, may reveal a zone of notable snow accumulation, also not an ideal place for camp during snowfall and/or wind. If it's the best available option, realize you may have to regularly clear snow from on and around your tent.
-
Look for natural windbreaks—such as ridges, groves of trees, or small hillocks—to shield you from wind and drifting snow. If you see evidence of significant snow deposition, set up your shelter a bit farther from the leeward side of these features.
-
The worst sort of snow accumulation? Avalanches, naturally. In mountain country, beware of camping in the runout zone of these slides, often betrayed by plentiful deadfall, flagged trees, and/or hummocky terrain below slopes or bowls. For more detailed guidance on recognizing hazardous conditions and best practices for survival, visit the National Avalanche Center website and the training centers it recommends.
-
It’s sometimes a little counterintuitive to many people, but low ground (all else being equal) tends to be chillier than uplands or hillsides at night because it’s where denser, heavier cold air settles; cold air will also roll down canyons, ravines, and draws. So avoid pitching camp in valley bottoms or hollows unless other factors make them the safest or easiest option.
-
Thick woods can be a nice, sheltered location for a winter campsite, but if it’s snowed recently beware of big whumps of the white stuff abruptly shedding from boughs.
-
As at any time of year, keep your environmental impact in mind when selecting a winter camp, bearing in mind that snow itself is a good choice for both traveling and camping upon in this regard. Keep at least 200 feet from water sources, don’t cut standing wood, pack out all trash and solid waste (or properly bury the latter), and confine urination to one area in the snow you then cover upon leaving camp.
Before pitching your tent, tamp down and smooth the snow; let it settle to avoid sleeping atop hardened lumps. Create shallow pits under vestibules for stowing boots or cooking during rough weather. Secure your shelter with deadman anchors—buried stakes, poles, or branches wrapped in guylines—so the tent stays taut in shifting snow conditions.
Tips on How to Stay Warm
While choosing the right gear and campsite is very important, it’s often the small, practical measures you take that truly help you stay warm and cozy at your winter campsite.
Once your tent’s pitched and your snowbed prepared, layer up for dinnertime and rest—waiting layer up until after the heavy lifting prevents sweat from chilling you later. Use gloves for tasks around camp and switch to mittens when you’re ready to relax and don’t need fine dexterity.
Inside your tent, consider tucking a hot water bottle inside a sock or shirt as a foot-warmer. Drying damp socks or gloves in your sleeping bag overnight also helps maintain comfort.
High-protein, easy-prep meals—such as Mountain House entrées—keep you fueled and minimize time exposed to the cold. Enjoying a quick cup of hot cocoa or nibbling on chocolate before bed gives you extra energy to help stay warm through the night.
Warm Up Your Winter Adventures with Mountain House
Winter camping can be a cozy, snow-filled adventure rather than a frigid ordeal. With the right planning, a few clever warm-up tricks, and some tasty Mountain House meals to fuel you through frosty nights, you’ll find that the cold season offers a unique outdoor experience all its own. So, zip up that parka, break out the hot cocoa, and pack your tent. Get excited—camping season doesn’t have to end when the temperatures drop!

Southern Comfort Food Ideas for Camping & Backpacking Trips

Easy Camping & Backpacking Rice Meals You’ll Love


Stay Hungry for Adventure
Sign Up for Delicious Outdoor Meals & Exclusive Offers!
By clicking ‘Join Now’, I agree to the Terms of Service and Privacy Policy.


Join the adventure
©2026 Mountain House — All Rights Reserved.
Your Cart is Empty
Continue ShoppingYour Cart
Subtotal
$0.00
EXPRESS PAYMENT METHODS AVAILABLE IN CHECKOUT
Taxes and Shipping Calculated at Checkout
Your ExpertVoice deal.
$[Deal Price]
$[Original Price]
Discount applied at checkout.
On sale now — lower than your ExpertVoice discount.
Not eligible for ExpertVoice discount.
