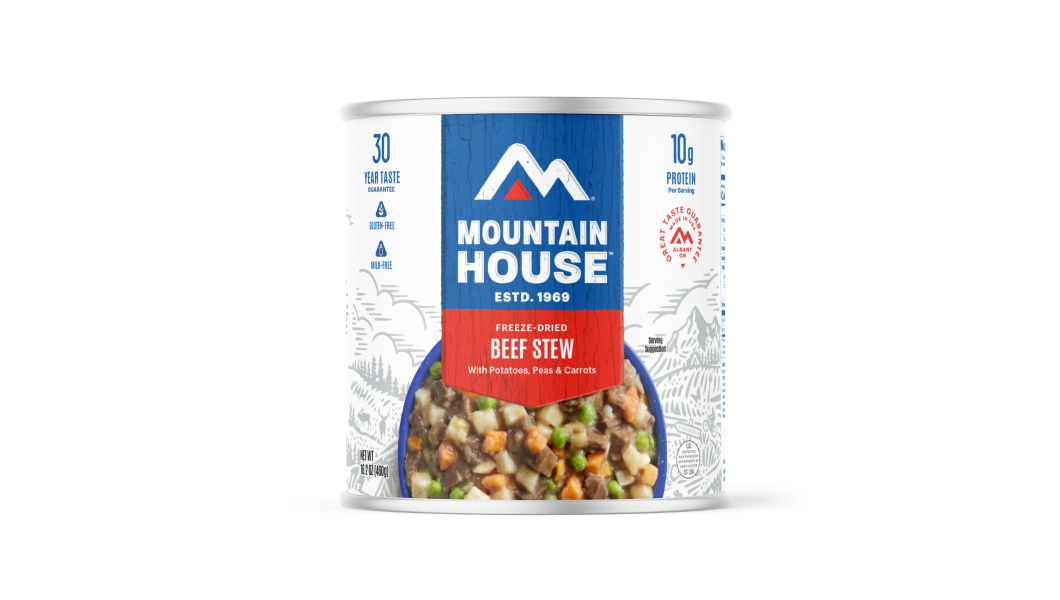
Inspired for an Adventure? Check out Beef Stroganoff - Pouch and Beef Stew - Pouch
Free Ground Shipping On All Orders
Over 2,100 Reviews
Add description, images, menus and links to your mega menu
A column with no settings can be used as a spacer
Link to your collections, sales and even external links
Add up to five columns
Add description, images, menus and links to your mega menu
A column with no settings can be used as a spacer
Link to your collections, sales and even external links
Add up to five columns
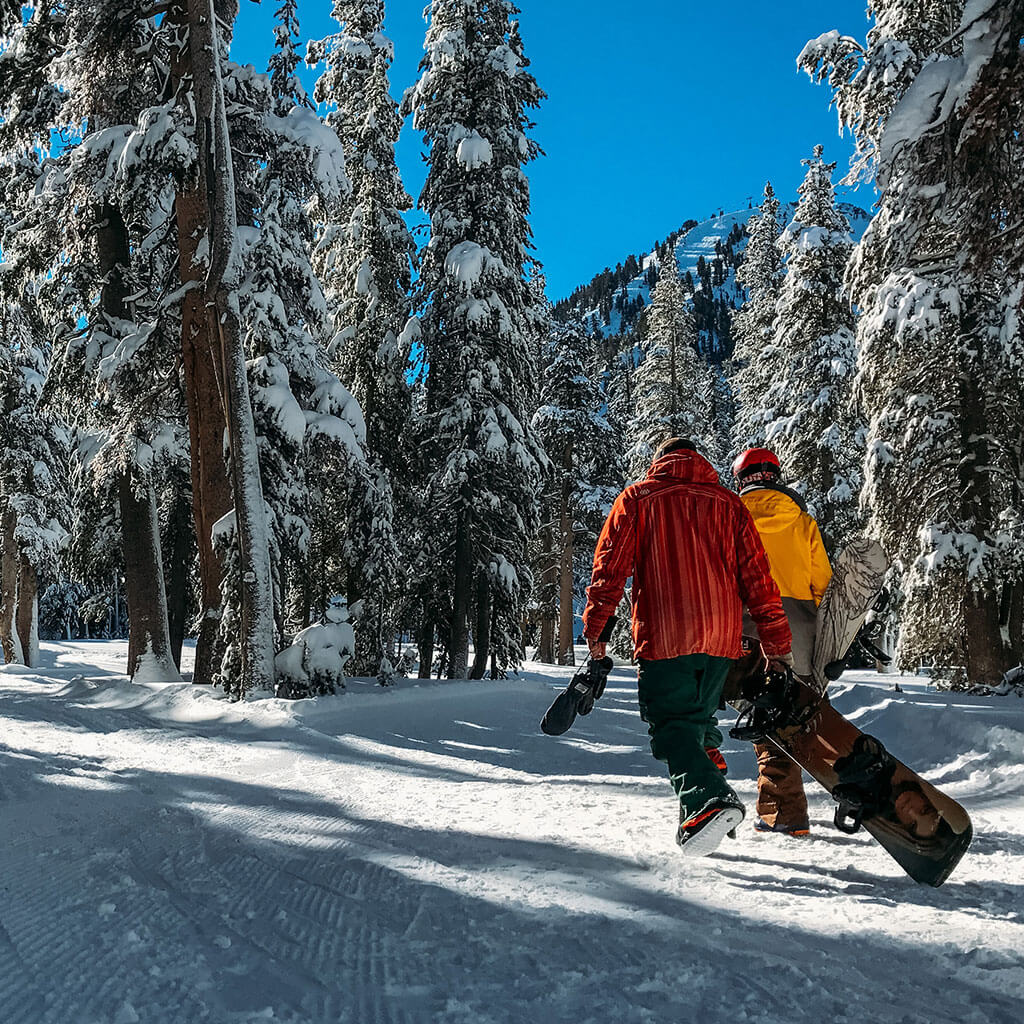

It’s avalanche season again, which means it’s high time to refresh your snow-slide smarts if you’re a backcountry skier, snowboarder, climber, or snowmobiler.
We’ve published a general guide to avalanche safety here at the Mountain House blog, which we recommend reading for more insight into what causes an avalanche and what to do if you get caught in one, among other topics. Today, we’re tightening the focus a bit and presenting a basic guide to assessing avalanche terrain as you travel.

The considerations we’re covering below can help you hone your “avalanche eyeballs,” as Bruce Tremper, Director of the Forest Service’s Utah Avalanche Center and the author of Staying Alive in Avalanche Terrain, calls a slide-savvy field awareness (credit where credit’s due: Tremper says the phrase comes from Doug Fesler and Jill Fredston).
So boost those avalanche eyeballs of yours by reviewing the following considerations for gauging the risk posed by the mountain-scapes you’ll be playing in this winter and spring!
Evaluating Slope Angle
One of the fundamental clues to avalanche risk is the angle of the terrain you’re trekking through. At a certain point, a slope is too shallow for snow to slide off it; at the other end of the spectrum, a very steep mountainside sheds snow too easily and consistently to build up avalanche-prone packs.
Most avalanches occur on slopes between roughly 35 and 45 degrees, though they’re possible at angles of anywhere from about 25 to 60 degrees (Tremper notes that the wetter, heavier, gloppier snow of maritime climates, such as the Cascade Range, typically allow avalanche slabs to build up more frequently on steeper slopes more than 50 degrees as compared to those in drier continental mountain ranges).
Unless you’re really experienced, it’s hard to accurately peg slope angle by eye. If you spend any time in the winter and spring mountains, get a clinometer - they can be very inexpensive - so you can check steepness on the go and thereby recognize mountainsides too risky to traverse.
Adjacent Triggers
You don’t actually need to be traveling on a steep slope to provoke an avalanche on it. It’s possible to trigger slides on adjacent slopes through stress reverberations within the snowpack when you’re, say, crossing a flat below the slope in question, a ridge crest or plateau above it, or a less-steep slope adjoining it.
It’s obvious why that’s a freaky situation if you’re below the avalanching slope, but keep in mind a slide like this can cause the snowpack above - on a ridgetop, for example - to break as well, and drag down snow on connected slopes. So you need to stay aware at all times even when only in the proximity of slopes standing at an avalanche-prone angle.
Slope Aspect
The direction a slope faces also impacts its susceptibility to avalanches and their patterns. Warmer, more sun-exposed southerly slopes (in the Northern Hemisphere) are, all else being equal, generally safer in early to midwinter because the greater melting that takes place on them helps consolidate and firm up the snowpack. Shadier, colder north-facing slopes, by contrast, take longer to stabilize and thus are often riskier - more avalanche-prone - during this period.
By late winter and early spring, though, the situation is reversed: North-facing slopes are usually more stable than the slushier south slopes subject to wilder swings of temperature and a lot of melt/freeze cycles that time of year.
A slope’s position relative to prevailing wind also matters. Windward mountainsides tend to be safer because wind scours them and maintains a shallower, lighter snowpack, whereas leeward slopes can heap up fast with wind-deposited drifts - “wind slabs” - and get riskily overloaded, with slab avalanches often the result (Bruce Tremper notes that wind can deposit snow at 10 times the rate of precipitating snowfall alone, and of course it doesn’t need to be actively snowing for fallen snow to be blown over peaks and ridges to the leeward side).
Cornices
The same process of windblown snow that forms wind slabs on leeward slopes creates cornices: those furls of snow overhanging leeward ridge edges. Those are dangerous in their own right, given their tendency to break away - maybe bringing down incautious skiers or climbers who’ve come too close to the drop-off. But their collapse also commonly triggers avalanches below, and you never know when they might fall. All the more reason to be extremely careful on wind-protected snow slopes - and, when possible, to avoid them altogether.
Slope Shape
Be especially cautious on convex (out-bulging) slopes, which often grow less stable snowpacks. However, keep in mind that concave (in-curving) slopes tend to accumulate wind slabs. Unstable, wind-deposited drifts can also build up in draws and gullies on the face of a slope (including a windward one).
The Runout Zone
The “runout zone” of avalanche terrain refers to the area below an avalanche-generating slope where the slide comes to rest. Because momentum can carry an avalanche quite a distance over flat ground under a slope - sometimes even clear across a narrow valley and partway up the opposite slope - you can be swept up in a slide even on level ground.
Besides generally being aware of the risk below adequately steep slopes, you can look for specific clues that indicate you’re in a runout zone. Trees that are “trimmed” of branches on their uphill-facing side - and certainly broken or toppled trees - are one such clue. Extensive thickets of sapling or seedling trees and/or shrubs may also indicate an area regularly swept by avalanches.
Seasonality plays a role in avalanche runout, by the way - particularly in partly vegetated mountain terrain. Early in the season (like now), still-exposed trees, brush, and outcrops tend to slow down slides and limit their runout distance. Once the snowpack has deepened and covers most of these features, avalanches can glide farther over the smoother snowpack and the runout distance extends.
Terrain Traps
Do everything you can to avoid steep slopes that lie above chokepoint gullies or ravines, stands of timber, cliffs, or glacial crevasses. These “terrain traps” can significantly lessen survival chances if you’re swept into them by an avalanche.
Crossing Risky Avalanche Terrain
Avoiding terrain that poses a high risk of snow avalanches is, unsurprisingly, the best way to stay out of trouble, but sometimes you have to make the call to cross a sketchy slope (or skirt its top or base). Make such high-risk crossings one at a time - you are traveling with others, right? - and keep a close eye on whoever’s crossing at a given time so, if a slide does occur, you have some sense of where the person was swept (time is of major essence during avalanche rescue). Successive members of the party should follow in the original footsteps as much as possible.
Before crossing, put on and zip up your outer layers of clothing. Keep your hands out of the safety straps of your ski or trekking poles (you want your arms unencumbered if you’re caught in a slide so you can them in front of your face for a breathing hole under the snow).
Do everything you can not to stumble or fall crossing a high-risk slope, as that impact and vibration may trigger an avalanche.
Keep Researching, Learning & Preparing for Avalanches
We haven’t by any means covered all elements of avalanche safety, just some of the major things to think about from a terrain-evaluation perspective. Besides our previous blog post, we recommend more in-depth online resources as avalanche.org (presented by the American Avalanche Association and the National Avalanche Center), which also includes information on finding avalanche safety courses in your area. Nothing’s better than taking one of those when it comes to preparing for the winter backcountry!

How to Survive in Cold Weather in the Wilderness
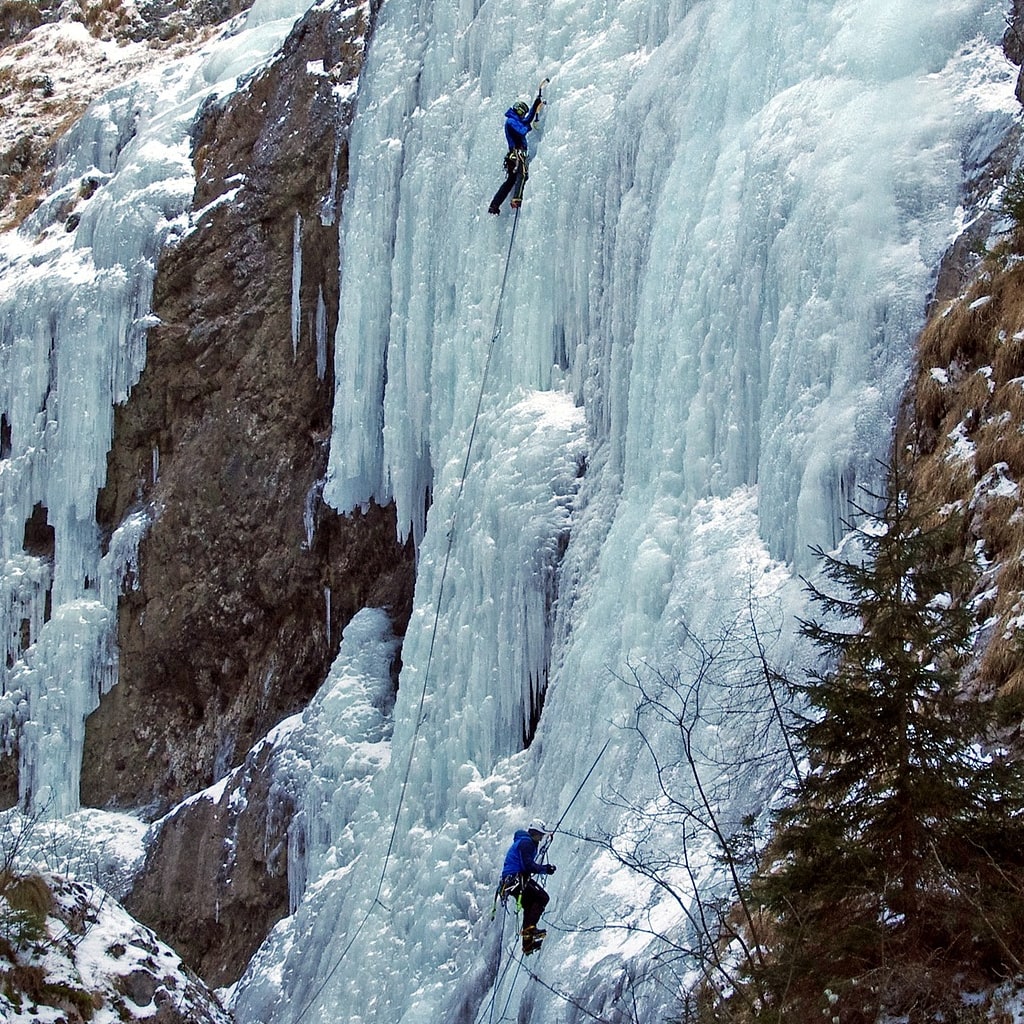
A Beginner’s Ice-Climbing Guide: How to Get Started
Stay Hungry for Adventure
Sign Up for Delicious Outdoor Meals & Exclusive Offers!
By clicking ‘Join Now’, I agree to the Terms of Service and Privacy Policy.


Join the adventure
©2026 Mountain House — All Rights Reserved.
Your Cart is Empty
Continue ShoppingYour Cart
Subtotal
$0.00
EXPRESS PAYMENT METHODS AVAILABLE IN CHECKOUT
Taxes and Shipping Calculated at Checkout
Your ExpertVoice deal.
$[Deal Price]
$[Original Price]
Discount applied at checkout.
On sale now — lower than your ExpertVoice discount.
Not eligible for ExpertVoice discount.
