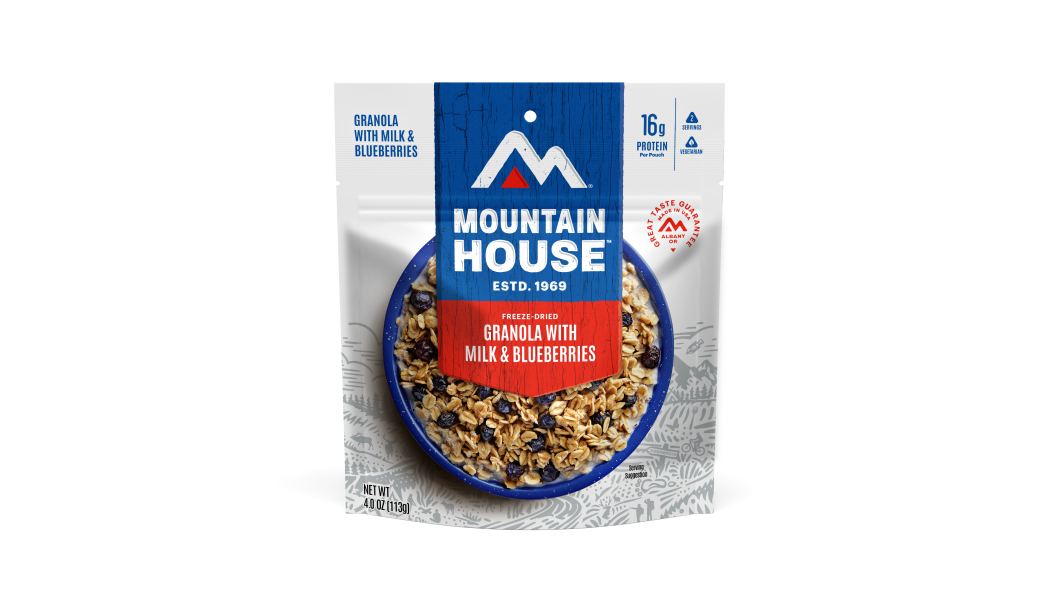
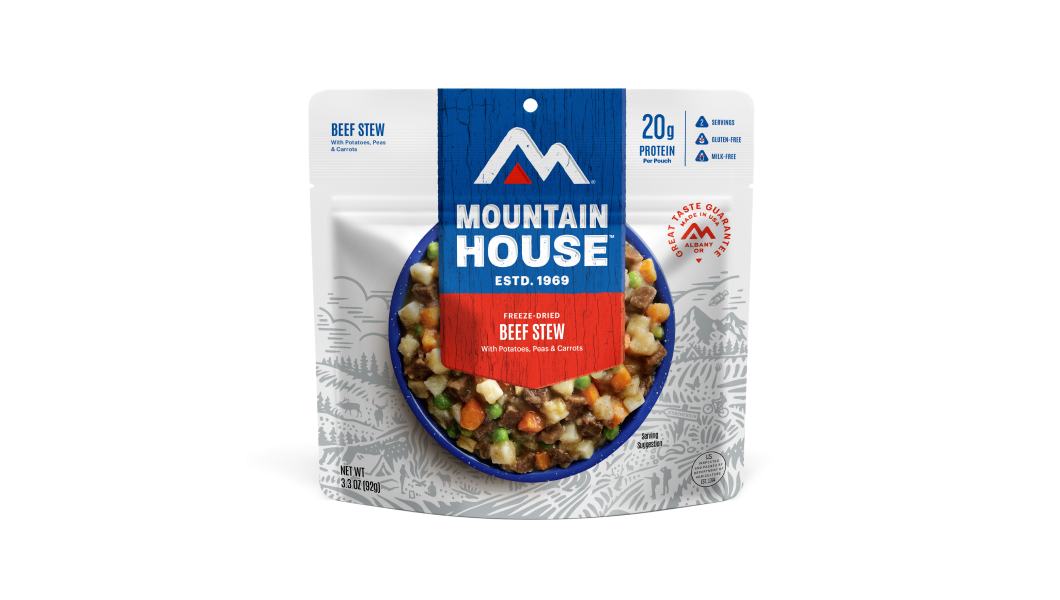
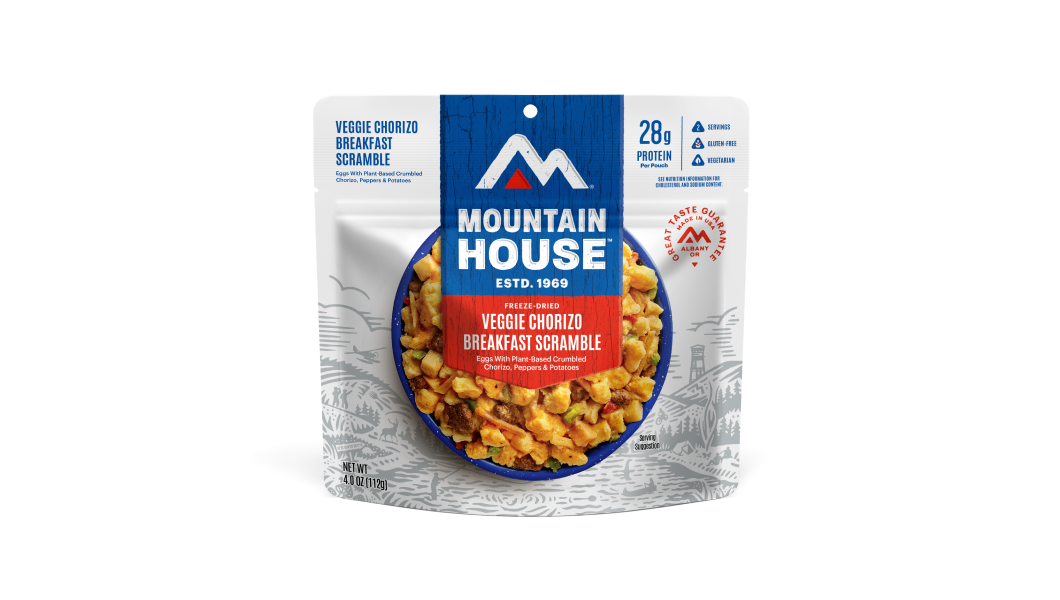
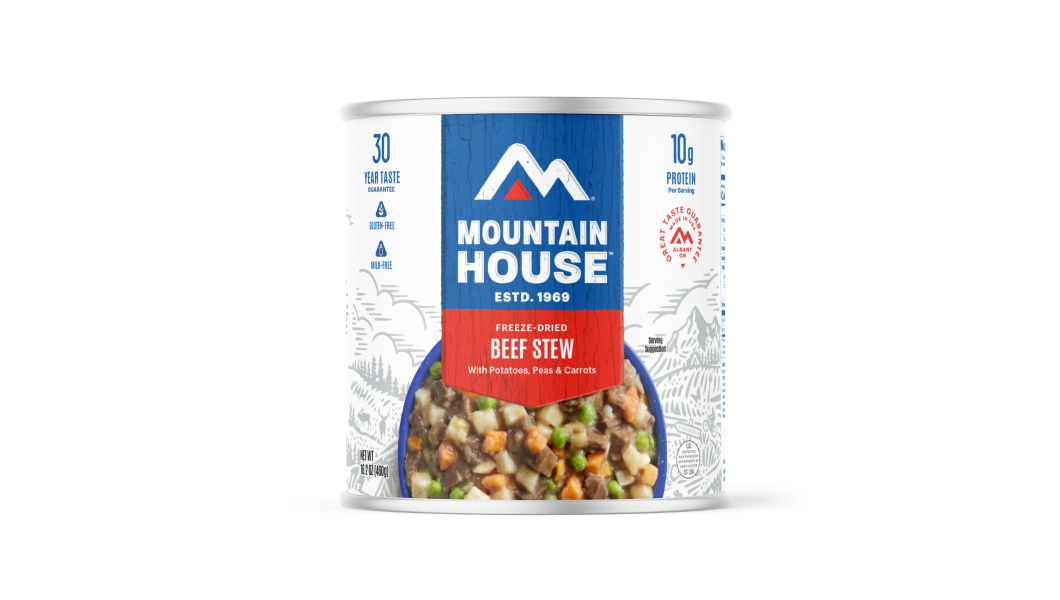
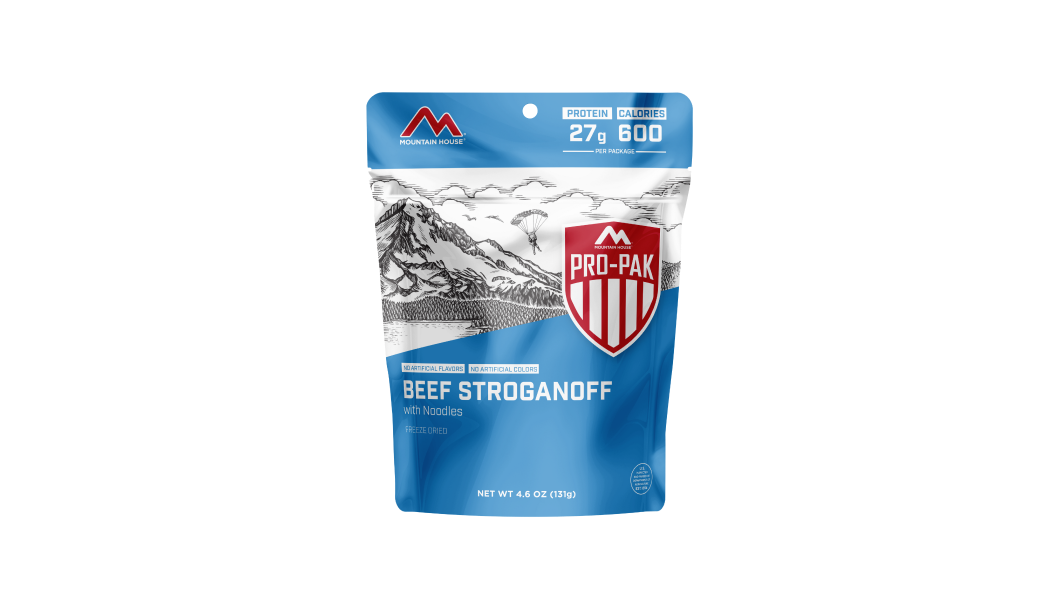
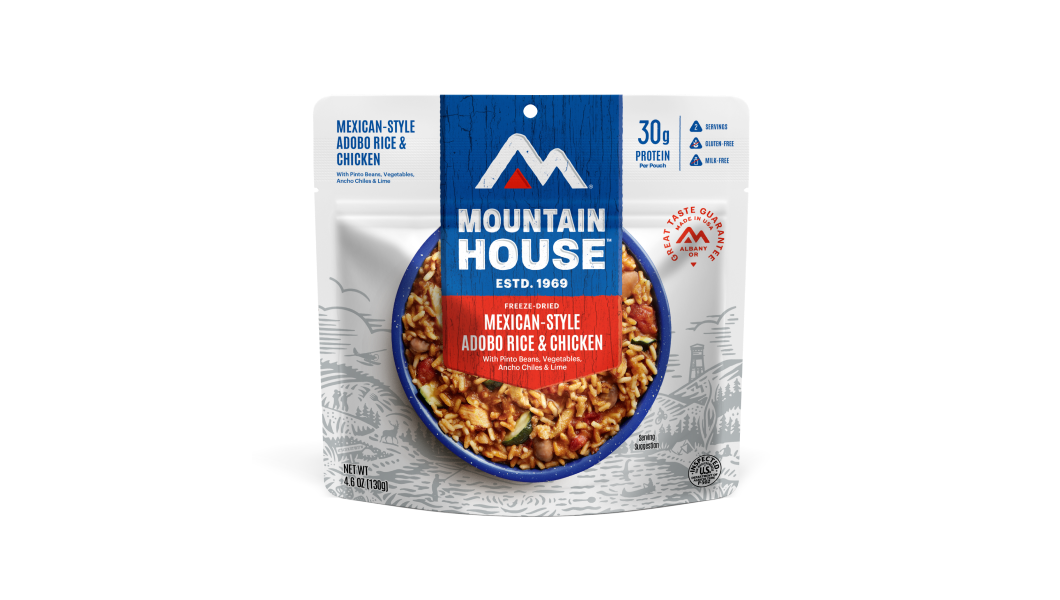
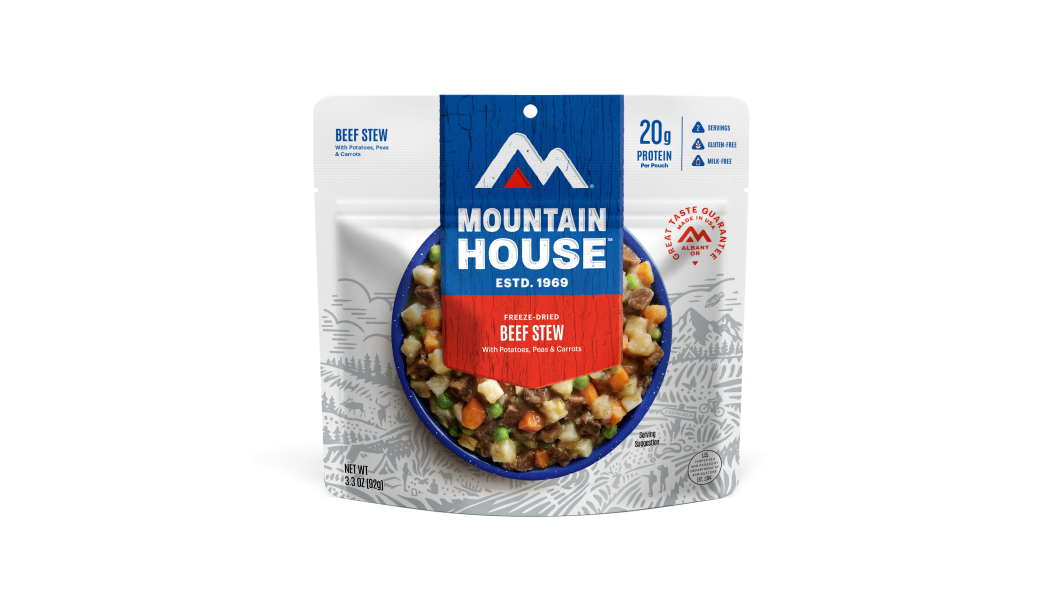
Inspired for an Adventure? Check out Beef Stroganoff - Pouch and Beef Stew - Pouch
Free Ground Shipping On All Orders
Over 2,100 Reviews
Add description, images, menus and links to your mega menu
A column with no settings can be used as a spacer
Link to your collections, sales and even external links
Add up to five columns
Add description, images, menus and links to your mega menu
A column with no settings can be used as a spacer
Link to your collections, sales and even external links
Add up to five columns


Perhaps, like so many backpackers, you’ve thus far confined your tenting-out adventures to summer (and maybe some shoulder-season forays here and there). When the temperatures plummet, the days shorten and the flakes fly, you hang up your back, store away the sleeping bag, and content yourself with a winter spent dreaming up backcountry treks for next year.
Here’s the deal, though: The start of the snowy season doesn’t have to mean the end of backpacking season. Winter backpacking has loads of appeal: more solitude and the indescribable glories of the whitened wilderness first and foremost among them.
For first-timers, though, the prospect of trekking into that cold, snowy, blustery wintertime backcountry can be intimidating, to say the least. Really, tackling winter backcountry is very achievable: Much of the logistics of it are just the usual wilderness-recreation ones turned up a notch or two to account for the special demands of the season.
In this guide, we’ll run down the fundamentals of winter backpacking to give you the confidence to maybe give it a go. All-season backpackers, after all, can enjoy the pleasures of the deep wilds—which, mind you, get deeper in the snowbound months, when even easily road-accessible acreage can feel deliciously quiet and empty—throughout the year (and, in fact, the heart-of-winter backpacking is honestly often easier to pull off than early-spring adventures, which can involve much gloppier, harder-going conditions).
So, without further ado, let’s lace up those winter boots—maybe strap on the snowshoes or the touring skis as well—and foray our way through winter backpacking basics!
Winter Backpacking Destinations

Image by pasja1000 from Pixabay
It goes without saying that in snowy climes, access to public lands can become a little more complicated. But maintained winter recreation zones in national parks, forests, and other areas mean you’ll likely still have plenty of options for backpacking areas reachable by plowed road. Just remember to properly winterize your vehicle (snow tires, chains, emergency essentials) before striking off.
We’d be remiss not emphasizing that there’s also plenty of country that won’t exactly be locked in extreme winter conditions. Indeed, winter can be the prime season to backpack in mild weather in, say, subtropical Florida or the Desert Southwest.
Planning a Winter Backpacking Trip, Route & Course

Image by pasja1000 from Pixabay
Some parks and other recreation areas maintain marked backcountry winter routes for cross-country skiers and snowshoers. These circuits—if overnight camping is allowed along them, of course—can be great choices for the beginner backpacker, given wayfinding is that much easier.
Often you’ll be going cross-country when backpacking in the snow. In fact, a good snowpack can open up access to off-trail areas much harder to get around in during the growing season. It’s generally a lot easier to cross brushfields, talus slopes, swampland, and shrubby forest depths when floating over a few feet of snow. This can open up backcountry routes in wintertime that otherwise would be harder to both traverse and navigate through in the summer.
Of course, landscapes can also be made significantly more treacherous in winter. If you can at all avoid it, you’ll want to steer your route away from avalanche-prone terrain, knife-edge ridges coated with sketchy cornices, and icy ledges or slopes equalling super-dicey footing and big consequences for a tumble.
How to Train for Backpacking in Winter

Image by Hans Braxmeier from Pixabay
Winter trekking tends to be much more physically demanding than warm-weather backpacking—probably no surprise even to somebody who’s never tried it. Moving over snow, ice, slush—even just lightly (and slickly) frosted grass—tends to be a lot more work than traversing dry, bare ground. The cold conditions themselves force your body to work harder to stay warm. You also may generally be hustling more than usual given the shorter day length and the sim appeal of having to pull off too many tasks once night’s fallen and the mercury’s nosediving.
When it comes to conditioning for winter backpacking, you certainly can’t do better than a full summer’s worth of hiking and trekking. Combine that with strength- and endurance-training at home and in the gym—including, when it comes to the legs especially, accounting for a heavier winter pack—should set you up for success out in the snowscapes.
Gear to Bring Winter Backpacking

Image by Free-Photos from Pixabay
The gear you need for winter backpacking isn’t fundamentally different (with a few exceptions) from what you bring backcountry adventuring other times of year. It generally just means scaling things up.
Pack
First off, what sort of pack do you want for the winter wilderness? Well, generally speaking, a bigger one than that you’d likely be using for strictly warm-season backpacking. You will, after all, be hauling more and bulkier gear along the way. Personal preference and experience come into play here to a significant degree, but you likely don’t want to go with a backpack less than 65 liters of capacity for wintertime overnighting.
Tent
If you’re camping amid mild winter weather or down in sheltered forestland, a three-season tent (combined with the right components of the rest of your sleeping system) might see you through just fine. If you’re camping in harsher country, or expecting much in the way of wind and/or heavy snowfall, you’ll likely want to go the four-season tent route. The sturdier build and more comprehensive tent-fly protection of these all-season tents give you a more secure shelter in the face of wintry gales and snowstorms.
Sleeping Bag
Select a sleeping bag rated to at least 10 degrees F lower than the kind of temperatures you’re anticipating out there while backpacking in snow. You can boost your sleeping bag’s warmth with a sleeping bag liner—given its significant insulating, lightweight, and packability properties, a good idea to have on hand regardless. You want to go the mummy-bag route for winter camping, given you need that hooded setup to stay cozy in frigid conditions.
You’ll typically want to bring along two sleeping bags: a closed-cell foam one to lay on the floor of your tent, then a self-inflating one to place atop that and sleep on. This not only gives you more insulation from the cold winter ground: It also gives you something to play with in case the inflatable pad punctures.
Cooking Stove
When it comes to a cookstove, liquid-fuel/white-gas stoves perform better at lower temperatures—including sub freezing conditions. If you do decide to use a canister stove, choose one with a pressure regulator to help it maintain a steady flame in chilly weather. Bringing extra fuel is a good idea, especially if you’re going to be melting snow for your drinking and cooking water (which is a fuel-demanding process). You’ll cover your bases by bringing a backup stove as well, in case your primary one checks out.
Snow Shoes, Boots & Skis
We’ll get to clothing—obviously an essential part of your winter-backpacking inventory—later in this guide. But how about travel aids? If you’re going to be exploring country with more than a few inches of snow, you’re likely going to want to suit up in either snowshoes or cross-country skis. Deep snow can be impossibly grueling to traverse in mere boots, especially when you’re hauling that much extra poundage given the demands of the season. Snowshoes are the most immediately user-friendly option, and also allow you to explore just about any winter terrain. Cross-country skis, whether touring or (better yet) backcountry models, perform less well in heavily timbered or rocky country, but otherwise can help you coast along with relatively minimal effort compared to snowshoeing or bare-boot hiking.
Traction Gear & Sleds
If you are going the winter or backpacking-boot route given accommodating snow conditions, you’ll often do well bringing crampons or similar traction devices along: essential for tackling steep slopes or simply the uneven surface of snowy or icy trail.
Whether you’re hiking, snowshoeing, or skiing, use trekking/ski poles for balance and support. You may well also need to bring an ice axe if your route takes you into steeper terrain.
A sled or pulk is handy for hauling that extra winter gear over snow, though it’s better suited for more level and open country or on-trail travel.
First Aid & Emergency Packs
It goes without saying you need to bring along fundamental wilderness emergency essentials, not least fire-starting supplies in case you need a warming blaze.
Setting Up a Winter Campsite

Image by gayleenfroese2 from Pixabay
We’ll cover some of the basics of setting up your winter campsite here, but much more can be found on winter campsite tips.
Selecting a Campsite
Naturally, it’s always important to carefully select a campsite when backpacking, but winter ups the ante a bit. You want to make sure your bedding-down zone is as out of the wind as possible, and certainly out of the most hazardous avalanche terrain—not just the base of risky slopes, but out a ways in the “runout zones” often revealed by flagged trees.
Placing the Tent
Depending on where you’re winter camping, you may or may not actually be pitching a tent on snow. Doing so definitely requires some special consideration and preparation.
You can buffer yourself against wind if you can’t find a fully sheltered spot by erecting a snow wall, or at least digging down a ways into the snowpack to set a lower base for your tent.
Any tent site on snow should be well tamped down before putting up your shelter. Loose and uneven snow under the weight of your sleeping tent will develop a hard, lumpy, super-uncomfortable glaze. Stamp out a flattish area of packed snow—snowshoes come in particular handy here—to avoid this recipe for a tossing-and-turning night.
Digging a Pit
Dig out a pit under your tent vestibule to make putting on and taking off boots and getting into and out of your shelter that much easier.
It's best to set up over as deep snow as possible. Also, if you can't dig a cathole down into soil, you should be packing out all human waste.
When to Make Camp
Given how carefully you want to select a safe, sheltered location to bed down in winter, and how much extra time preparing your site can take, it’s essential to make camp with daylight to spare. That means careful time management while trekking, and favoring setting up camp over pushing on if you’re not covering as much ground as you intended.
Food for Winter Backpacking & Cold Weather Cooking

Image by zanna-76 from Pixabay
The physical and metabolic demands of cold weather backpacking mean you’re going to need to up your food intake significantly—not just beyond your everyday at-home diet, but also generally beyond what you’d be consuming on a summer or fall trek. You may well be packing away upwards of 6,000 calories per day on a winter backpack.
Bring Fat-Rich Foods & Energy Snacks
Bring along plenty of fat-rich foods so you’ve got long-burning energy. Energy-packed snacks for daytime sustenance are important, because on a winter trek you’re not likely going to want to stop for extended lunch breaks—or stop at all. Winter backpackers want to eat more as well as eat more often, and they want quick-cooking, fuel and time-efficient meals so they’re not hanging around in the cold and dark waiting to eat. Quick cleanup is desirable, too. One-pot breakfasts and dinners—especially (ahem) “just-add-hot-water” options from Mountain House — are ideal.
Pack a Stove for Meltwater
Backpacking through snowscapes, there’s a good chance you’ll need to rely on the white stuff (unless you’re camping close to an open, running stream, say) for cooking and drinking water. Because much of snow is not water but air, first-timers are often shocked at how little liquid’s produced from melting snow; you need a lot of snow, and thus a lot of stove fuel, to generate enough water. That means bringing more fuel than for a comparable trip in other seasons—and again points up the benefit of one-pot and just-add-water entrees (when melting snow, remember to pour a little water in the cookpot first to avoid a scorched taste to your meltwater).
Starting a Fire

Whether for warmth, obtaining drinking water, or cooking food, there’s a chance you may find yourself needing to start a fire while winter backpacking. Rather than cover that nuts-and-bolts backcountry skill here, we’ll point you to this handy Mountain House post, “How to Start an Emergency Fire.”
What to Wear Winter Backpacking

Image by Артур Закиров from Pixabay
Repeat after us: layering. Layering’s the M.O. of any backpacker’s wardrobe game, and its value is never so starkly clear as on a winter trek.
In summary, you’ll want a base layer such as wool or polyester long underwear, mid layers such as fleece or down puffies, and an outer shell layer of waterproof and breathable jacket and pants. You want to maintain an insulating layer of air around your body while wicking away perspiration and keeping wind and external moisture from penetrating.
Hats & Gloves
A warm winter hat and a balaclava for protecting your face in extreme cold or bad wind take care of (along with a hood) your head protection. For your hands, consider wearing thin glove liners or fingerless gloves—handy for dexterous tasks at camp—underneath warmer shell-layer mittens or overmitts.
Socks & Boots
Depending on conditions, you may be able to wear waterproof backpacking boots, but often robust winter/mountaineering boots are best. Size up to accommodate thicker or double-layered socks as well as an extra wool insole. Long gaiters worn over your boots and lower legs help keep out snow and ice while providing some insulation.
Hand Warmers
Hand warmers are a treat out there in the snowlands, slotted not just in your gloves but also, potentially, in your boots, pants, hat, and other cold-vulnerable spots.
Sunglasses & Goggles
Don’t forget sunglasses or goggles: The glare off that winter snowpack, even in light overcast conditions, can be prodigious, and can even lead to temporary but ultra-painful “snow blindness.”
How to Prevent Frostbite & Hypothermia

Image by pasja1000 from Pixabay
Two of the chief hazards in winter backpacking are frostbite (when blood vessels and adjoining tissue actually freeze) and hypothermia, the dangerous decline of body temperature. Wearing proper insulating and waterproof clothing and gear is obviously paramount. Bring along extra clothing layers so that, if your garments get wet, you can quickly get out of them and into dry ones.
Symptoms
Hypothermia symptoms cover a lot of territory, and it’s important to know the early signs so that progression into a more serious, even life-threatening, condition can be avoided. Here are some of the initial cues either frostbite or hypothermia may be setting in:
- Shivering
- Numb extremities
- Clumsiness
By the way, dehydration can be a trigger of hypothermia, so don’t forget to drink plenty of water when winter backpacking—even if you aren’t feeling thirsty).
Frostbite can also be reversed if noticed early enough; treating frostbitten extremities in the backcountry is challenging, the main course of action being getting a frostbite victim back to civilization for medically supervised reheating.
For more information, check out this Forest Service page on these two medical conditions.
More Resources

Image by Юрий Кузнецов from Pixabay
For more winter backpacking tips and tricks, we urge you to check out the following Mountain House posts in addition to the ones we’ve already linked to:

How to Hike Safely in Winter & Cold Weather

5 Wilderness Survival Situations: Skills and Strategies to Stay Safe

Stay Hungry for Adventure
Sign Up for Delicious Outdoor Meals & Exclusive Offers!
By clicking ‘Join Now’, I agree to the Terms of Service and Privacy Policy.


Join the adventure
©2026 Mountain House — All Rights Reserved.
Your Cart is Empty
Continue ShoppingYour Cart
Subtotal
$0.00
EXPRESS PAYMENT METHODS AVAILABLE IN CHECKOUT
Taxes and Shipping Calculated at Checkout
Your ExpertVoice deal.
$[Deal Price]
$[Original Price]
Discount applied at checkout.
On sale now — lower than your ExpertVoice discount.
Not eligible for ExpertVoice discount.
